To edit an image effectively in Shockvue, crafting a precise prompt is crucial. Be explicit and detailed in your prompts to ensure the desired outcome. Clearly articulate the expected result in words.
1. Basic object modifications
To make straightforward changes (e.g. color, shape), simple prompts like:
"Change the yellow car to red"
…are often all you need. Shockvue is smart enough to infer what object you’re referring to.
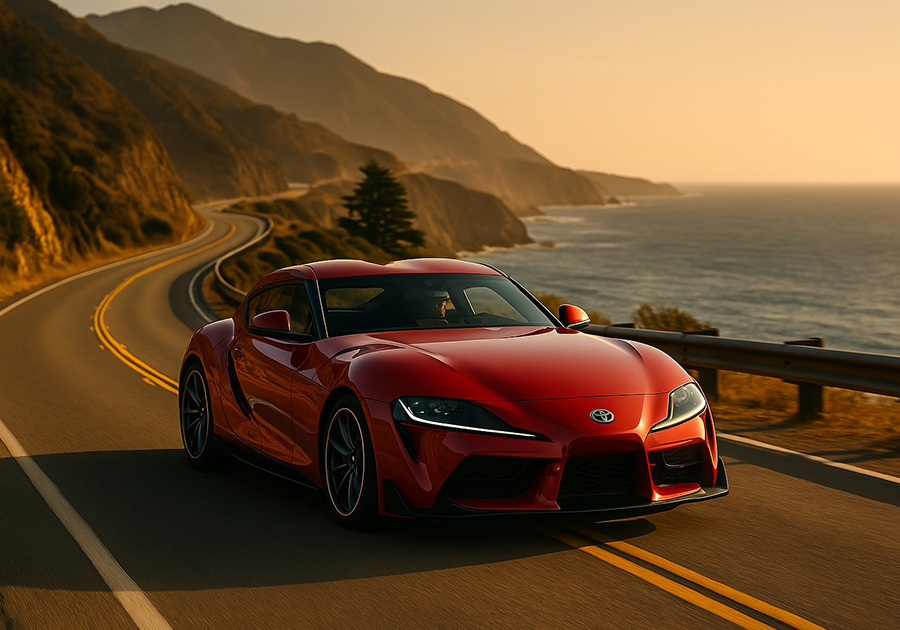
Input image
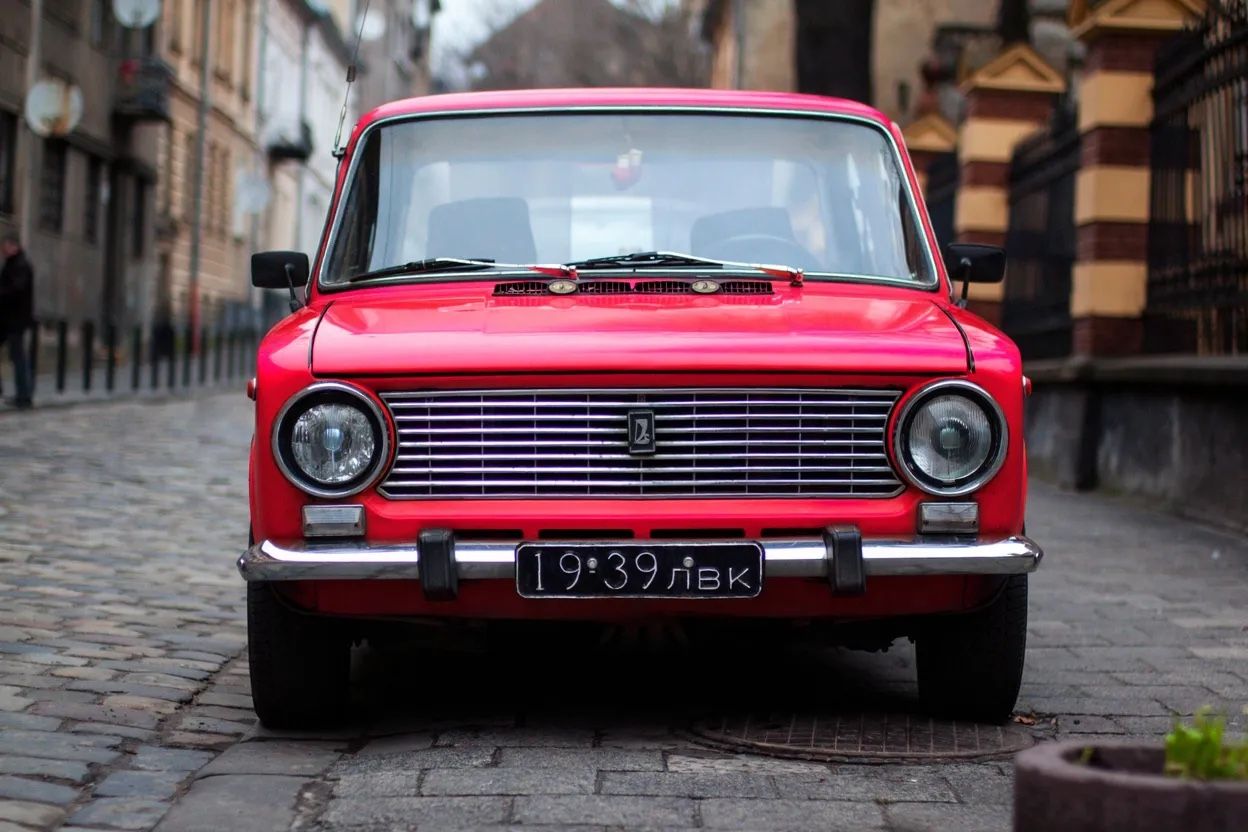
Output: Car changed to red
2. Prompt precision: from quick to complex
Quick Edits
Short prompts like"Change the weather" may work, but could also alter style or composition.
Controlled Edits
Be more specific to control output:
"Change the weather to a snowy day in the winter"
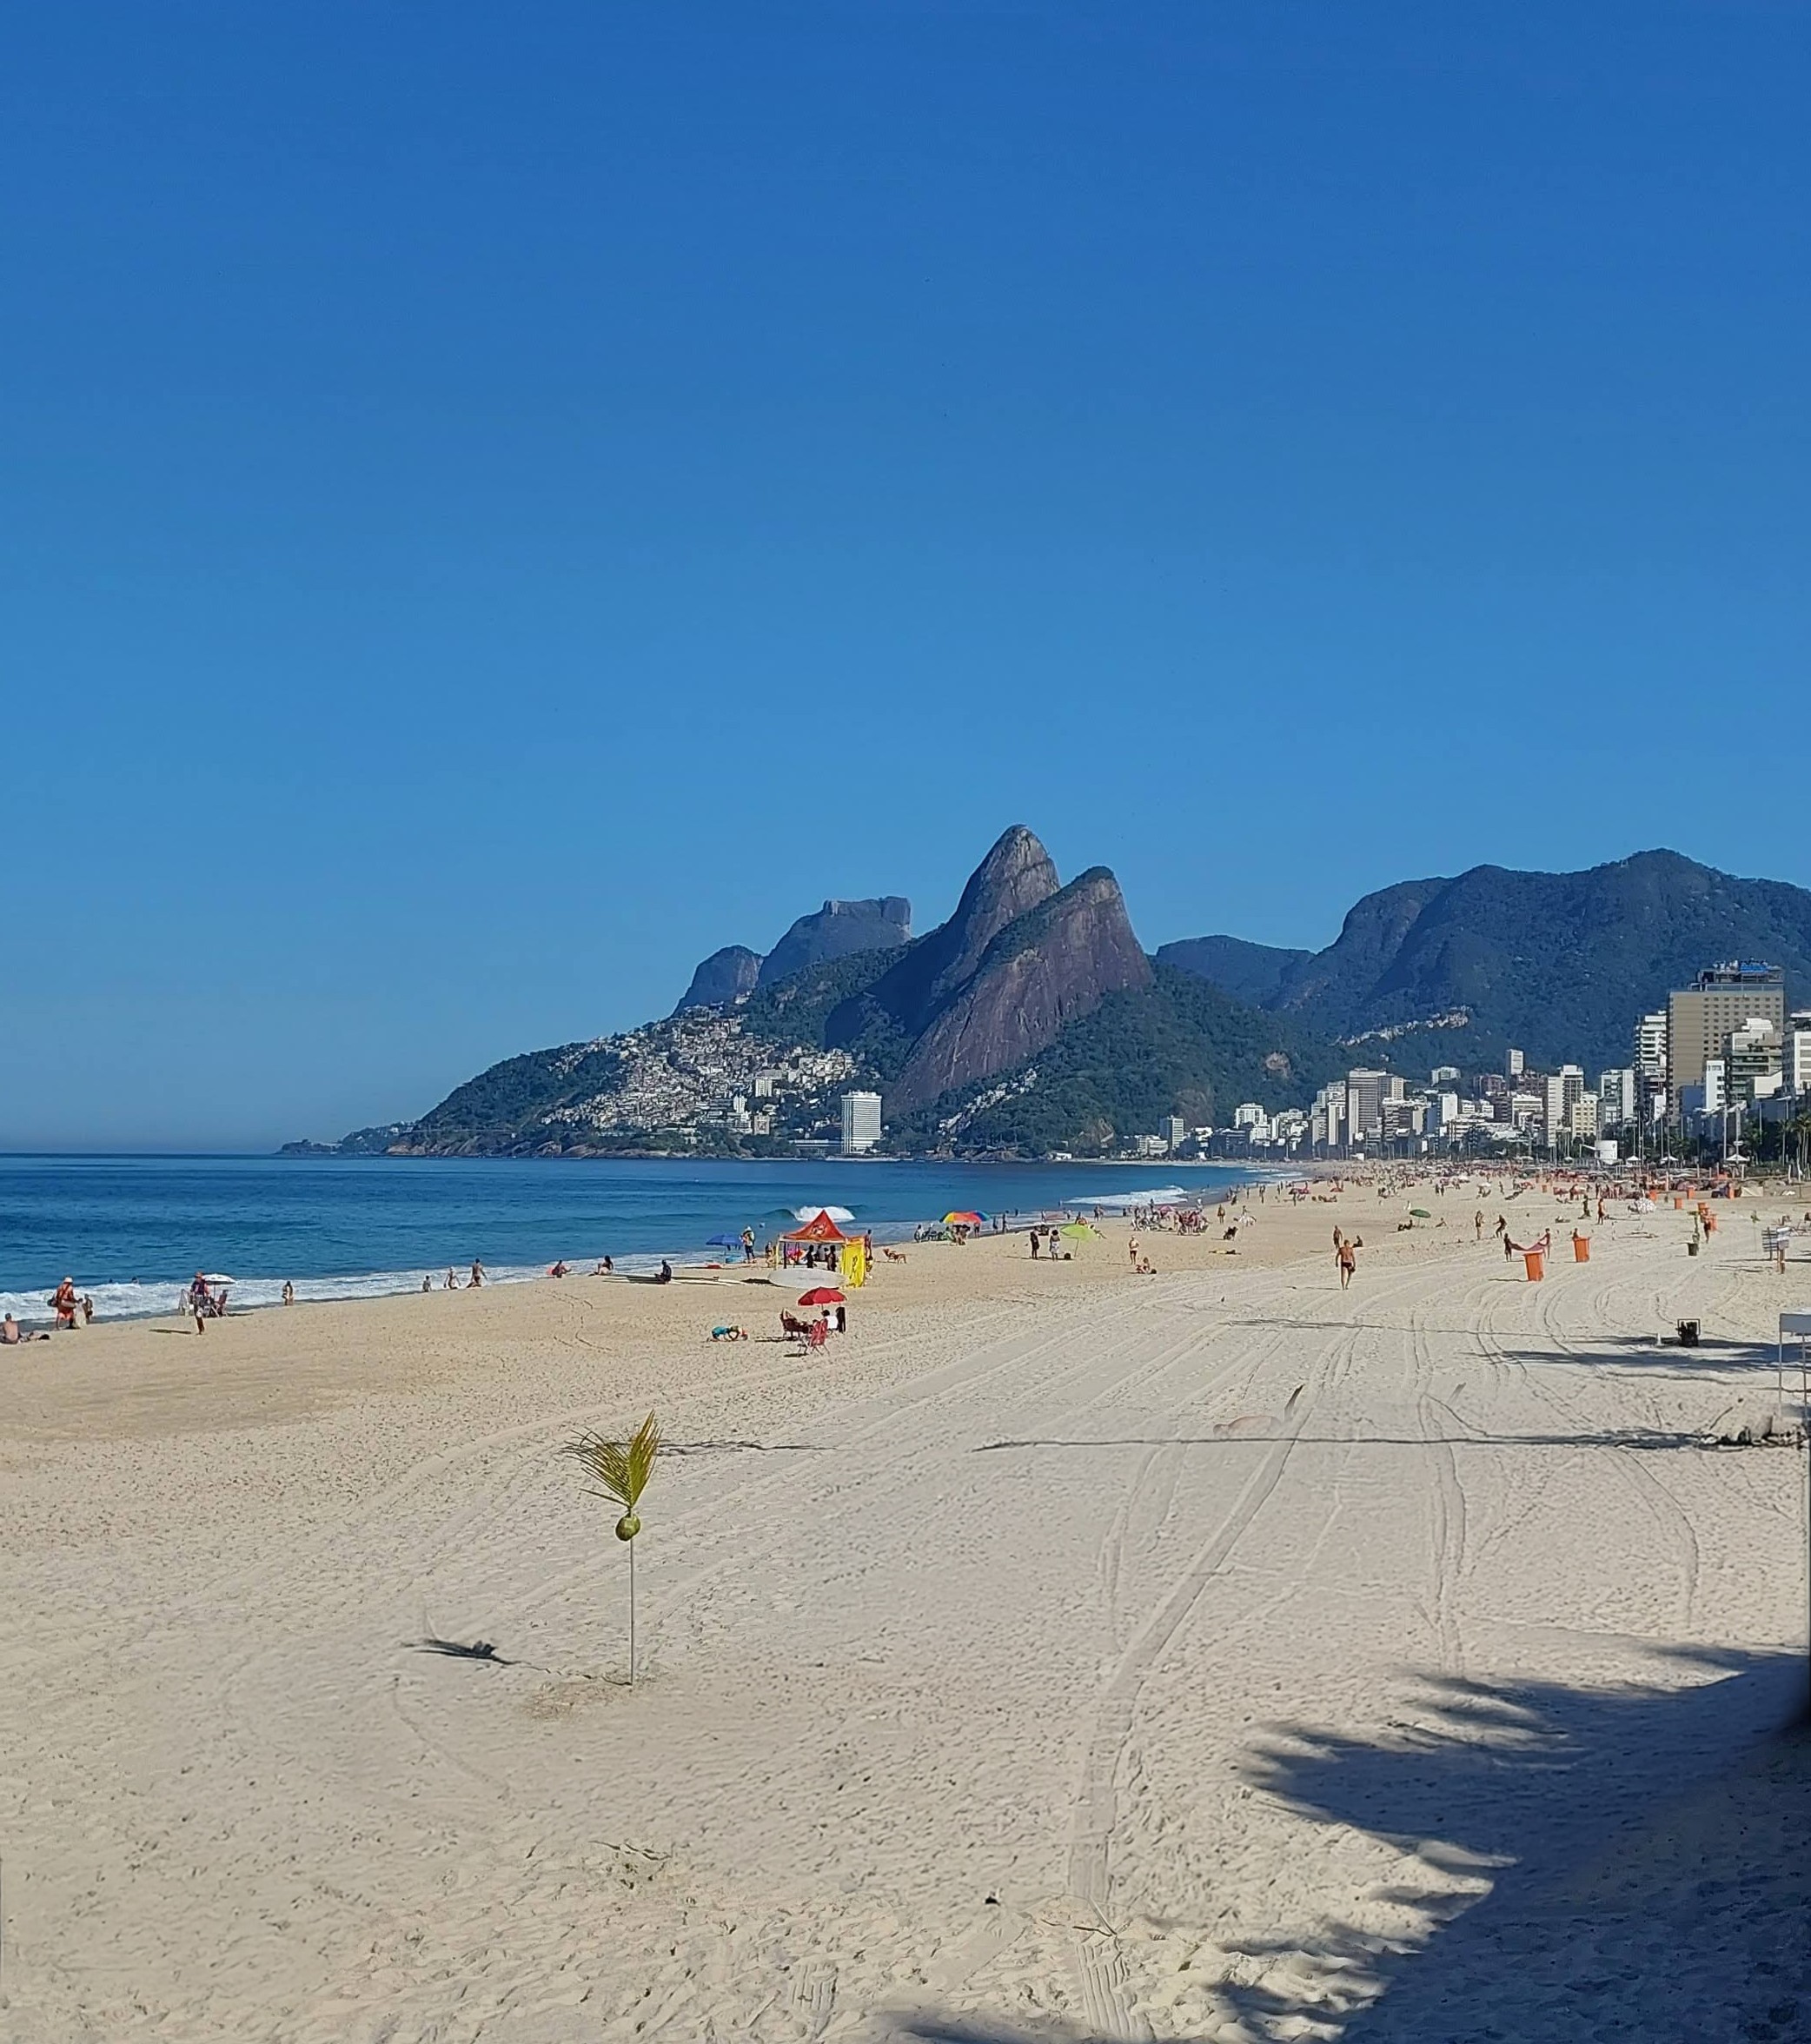
Input image
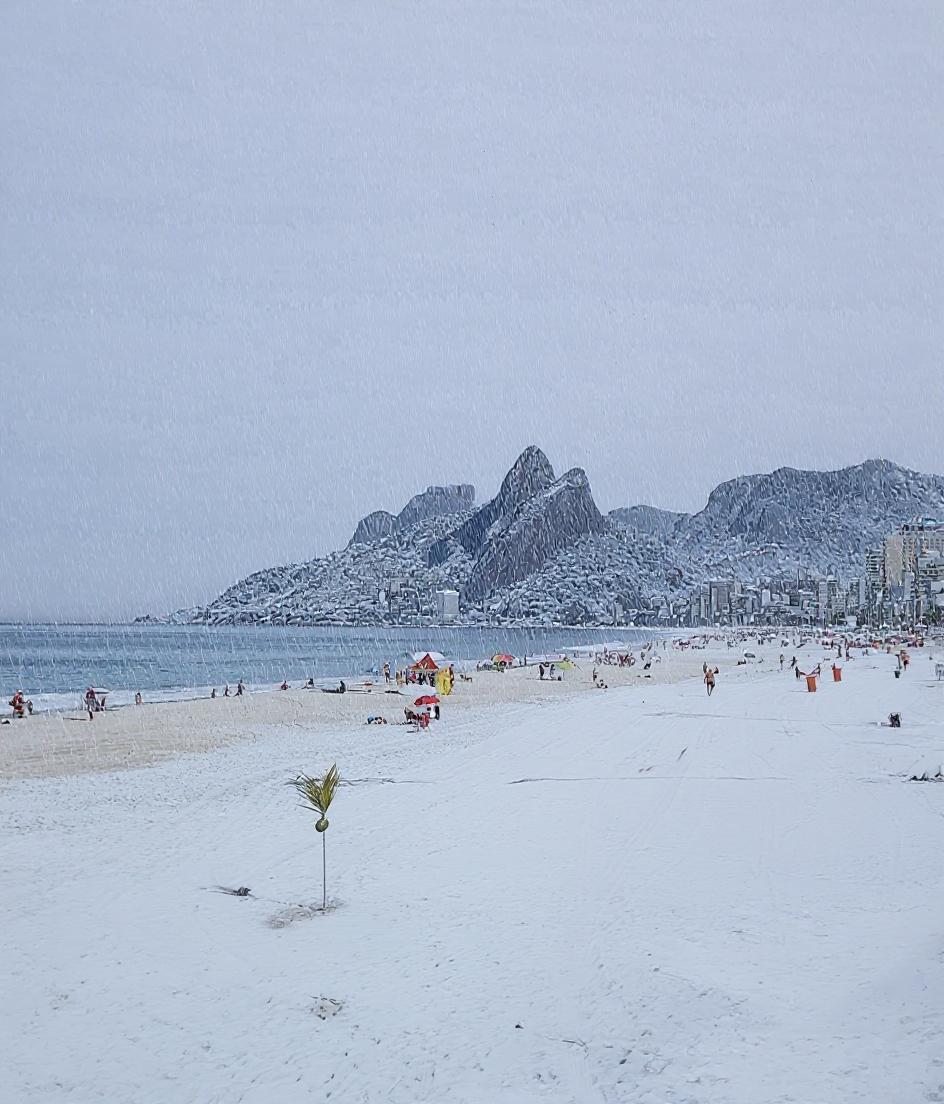
Output
“Change to daytime while maintaining the same style of the painting”
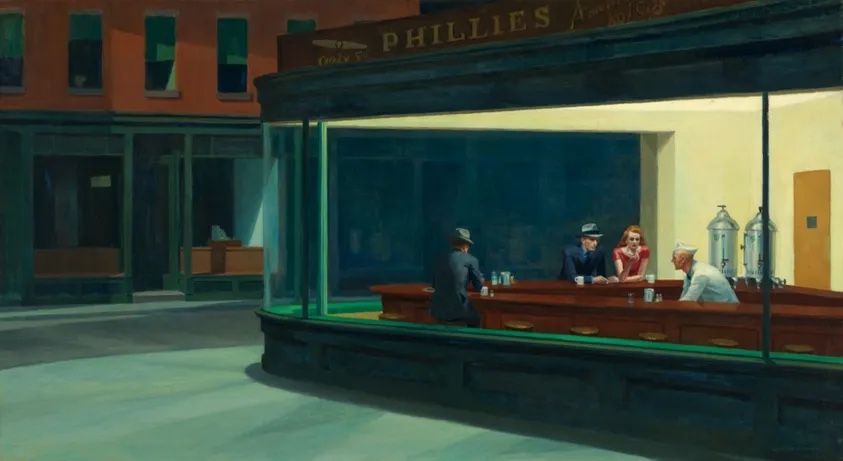
Input image
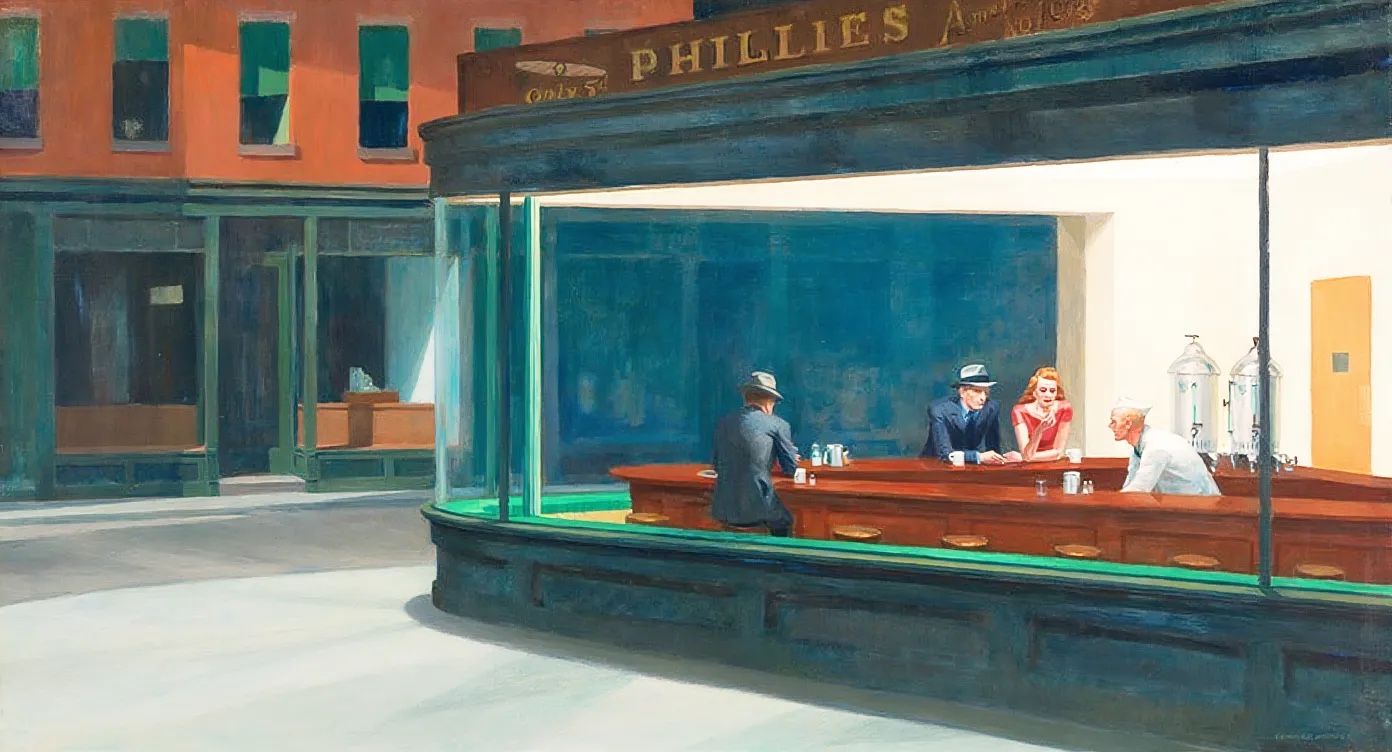
Output
Complex Instructions
Add multiple instructions to handle several changes:
"Change the setting to a day time, add a lot of people walking the sidewalk while maintaining the same style of the painting"

Input image
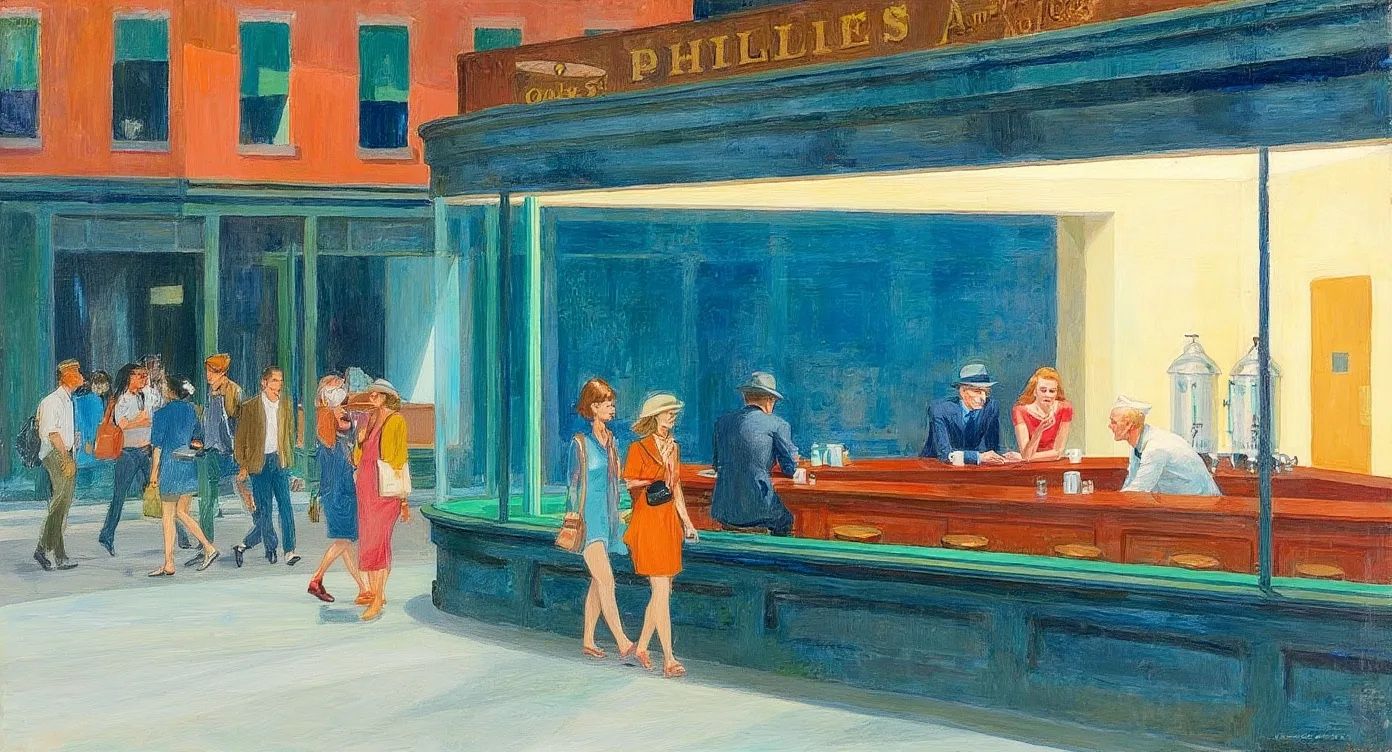
Output
3. Style transfer
When working on style transfer prompts, follow those principles:- Name the specific style: Instead of vague terms like “make it artistic,” specify exactly what style you want (“Transform to Bauhaus art style,” “Convert to watercolor painting”)
- Reference known artists or movements: For more precise results, include recognizable style references (“Renaissance painting style”, “like a 1960s pop art poster”)
- Detail the key characteristics: If naming the style doesn’t work, it might be good to describe the visual elements that define the style:
- “Transform to oil painting with visible brushstrokes, thick paint texture, and rich color depth”
- Preserve what matters: Explicitly state what elements shouldn’t change:
- “Change to Bauhaus art style while maintaining the original composition and object placement”
Input image
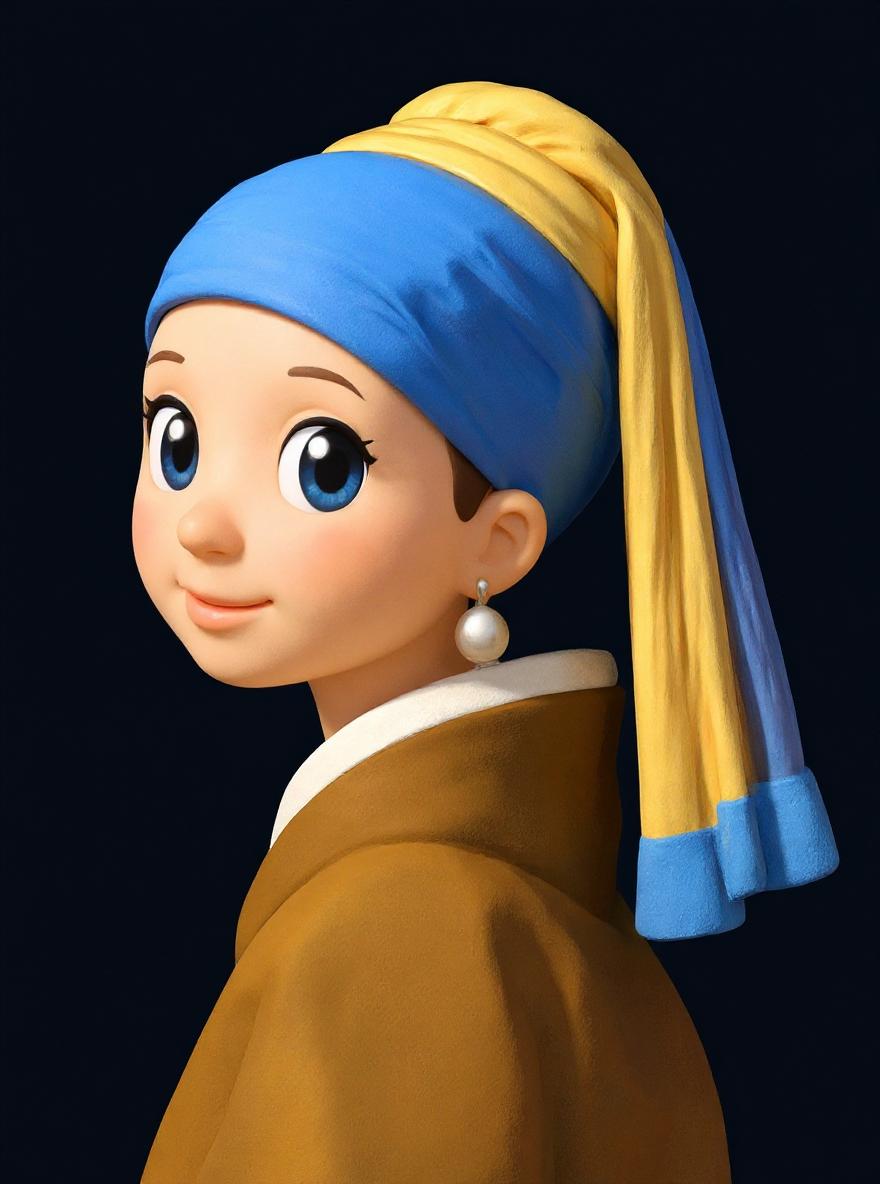
Turn this image into the emoji style of Apple iOS system
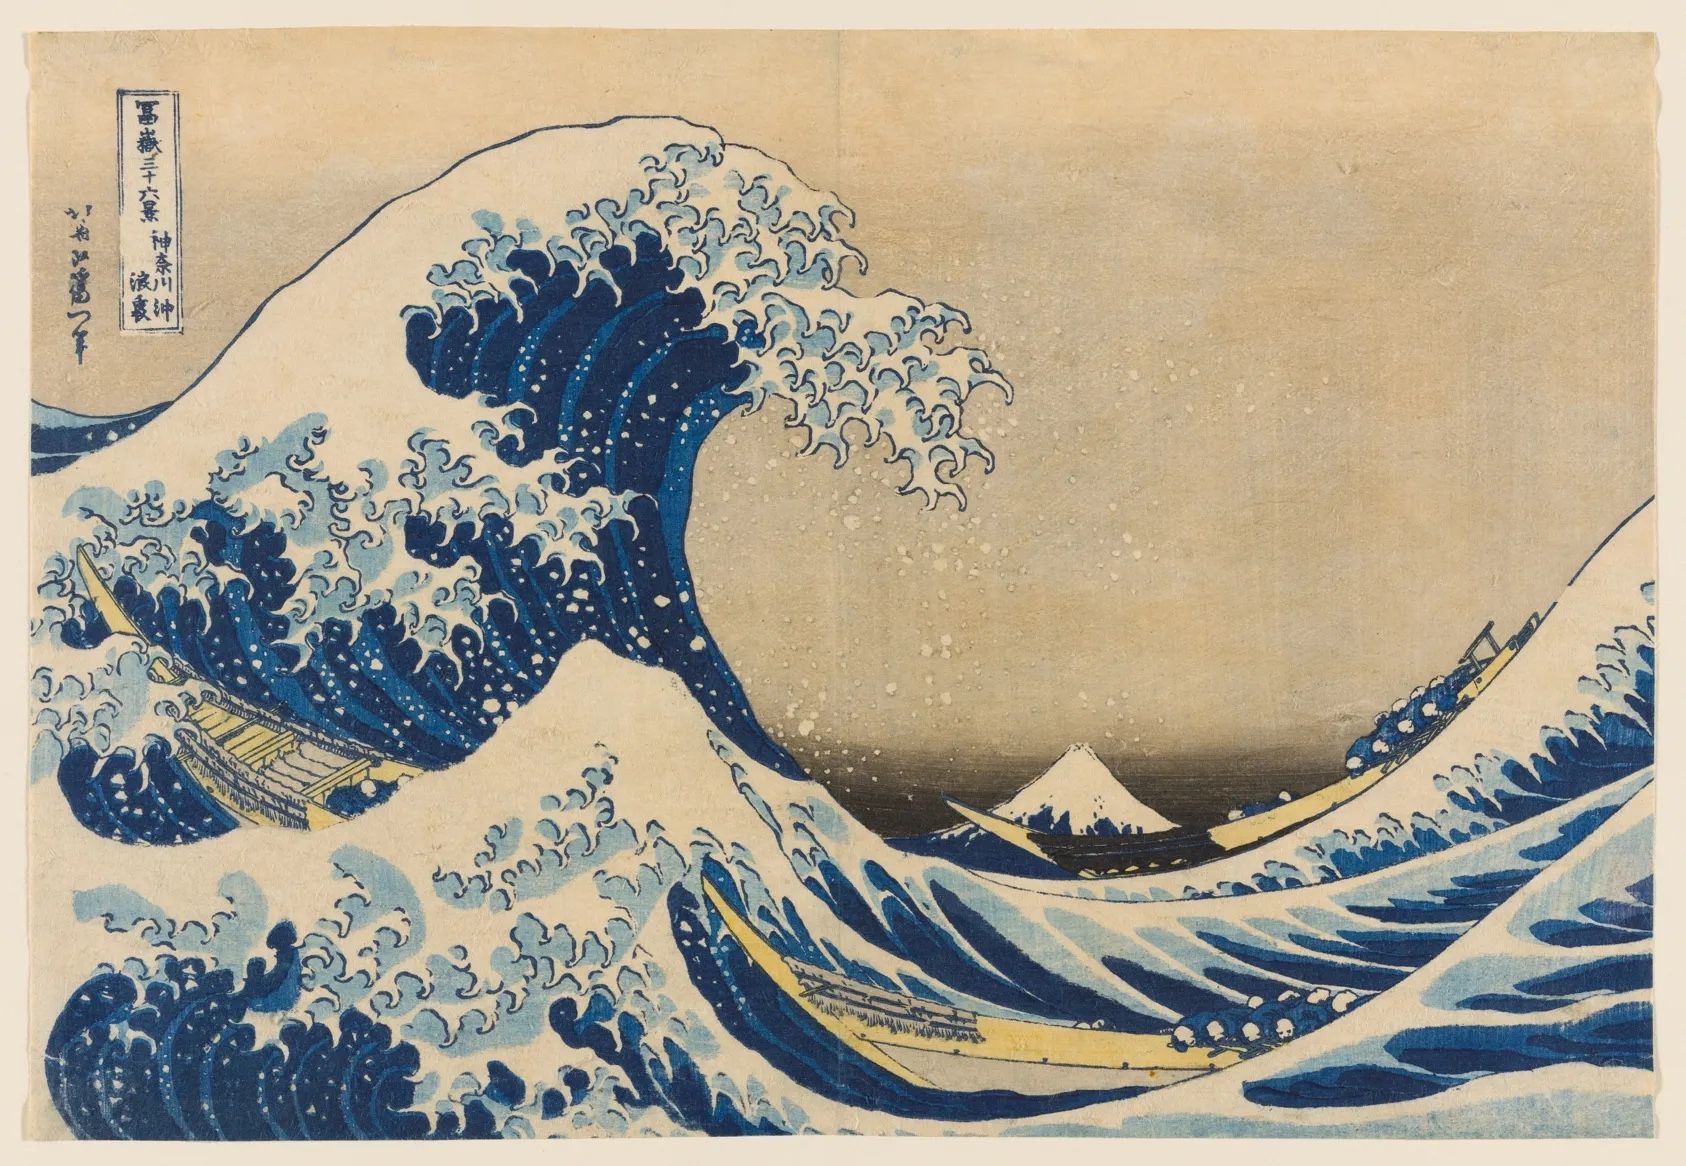
4. Using input images
You can also use input images as style references to generate new images. For example, with the prompt: “Using this style, a raccoon and a fox are having coffee sitting at a cafe terrace at night” we get: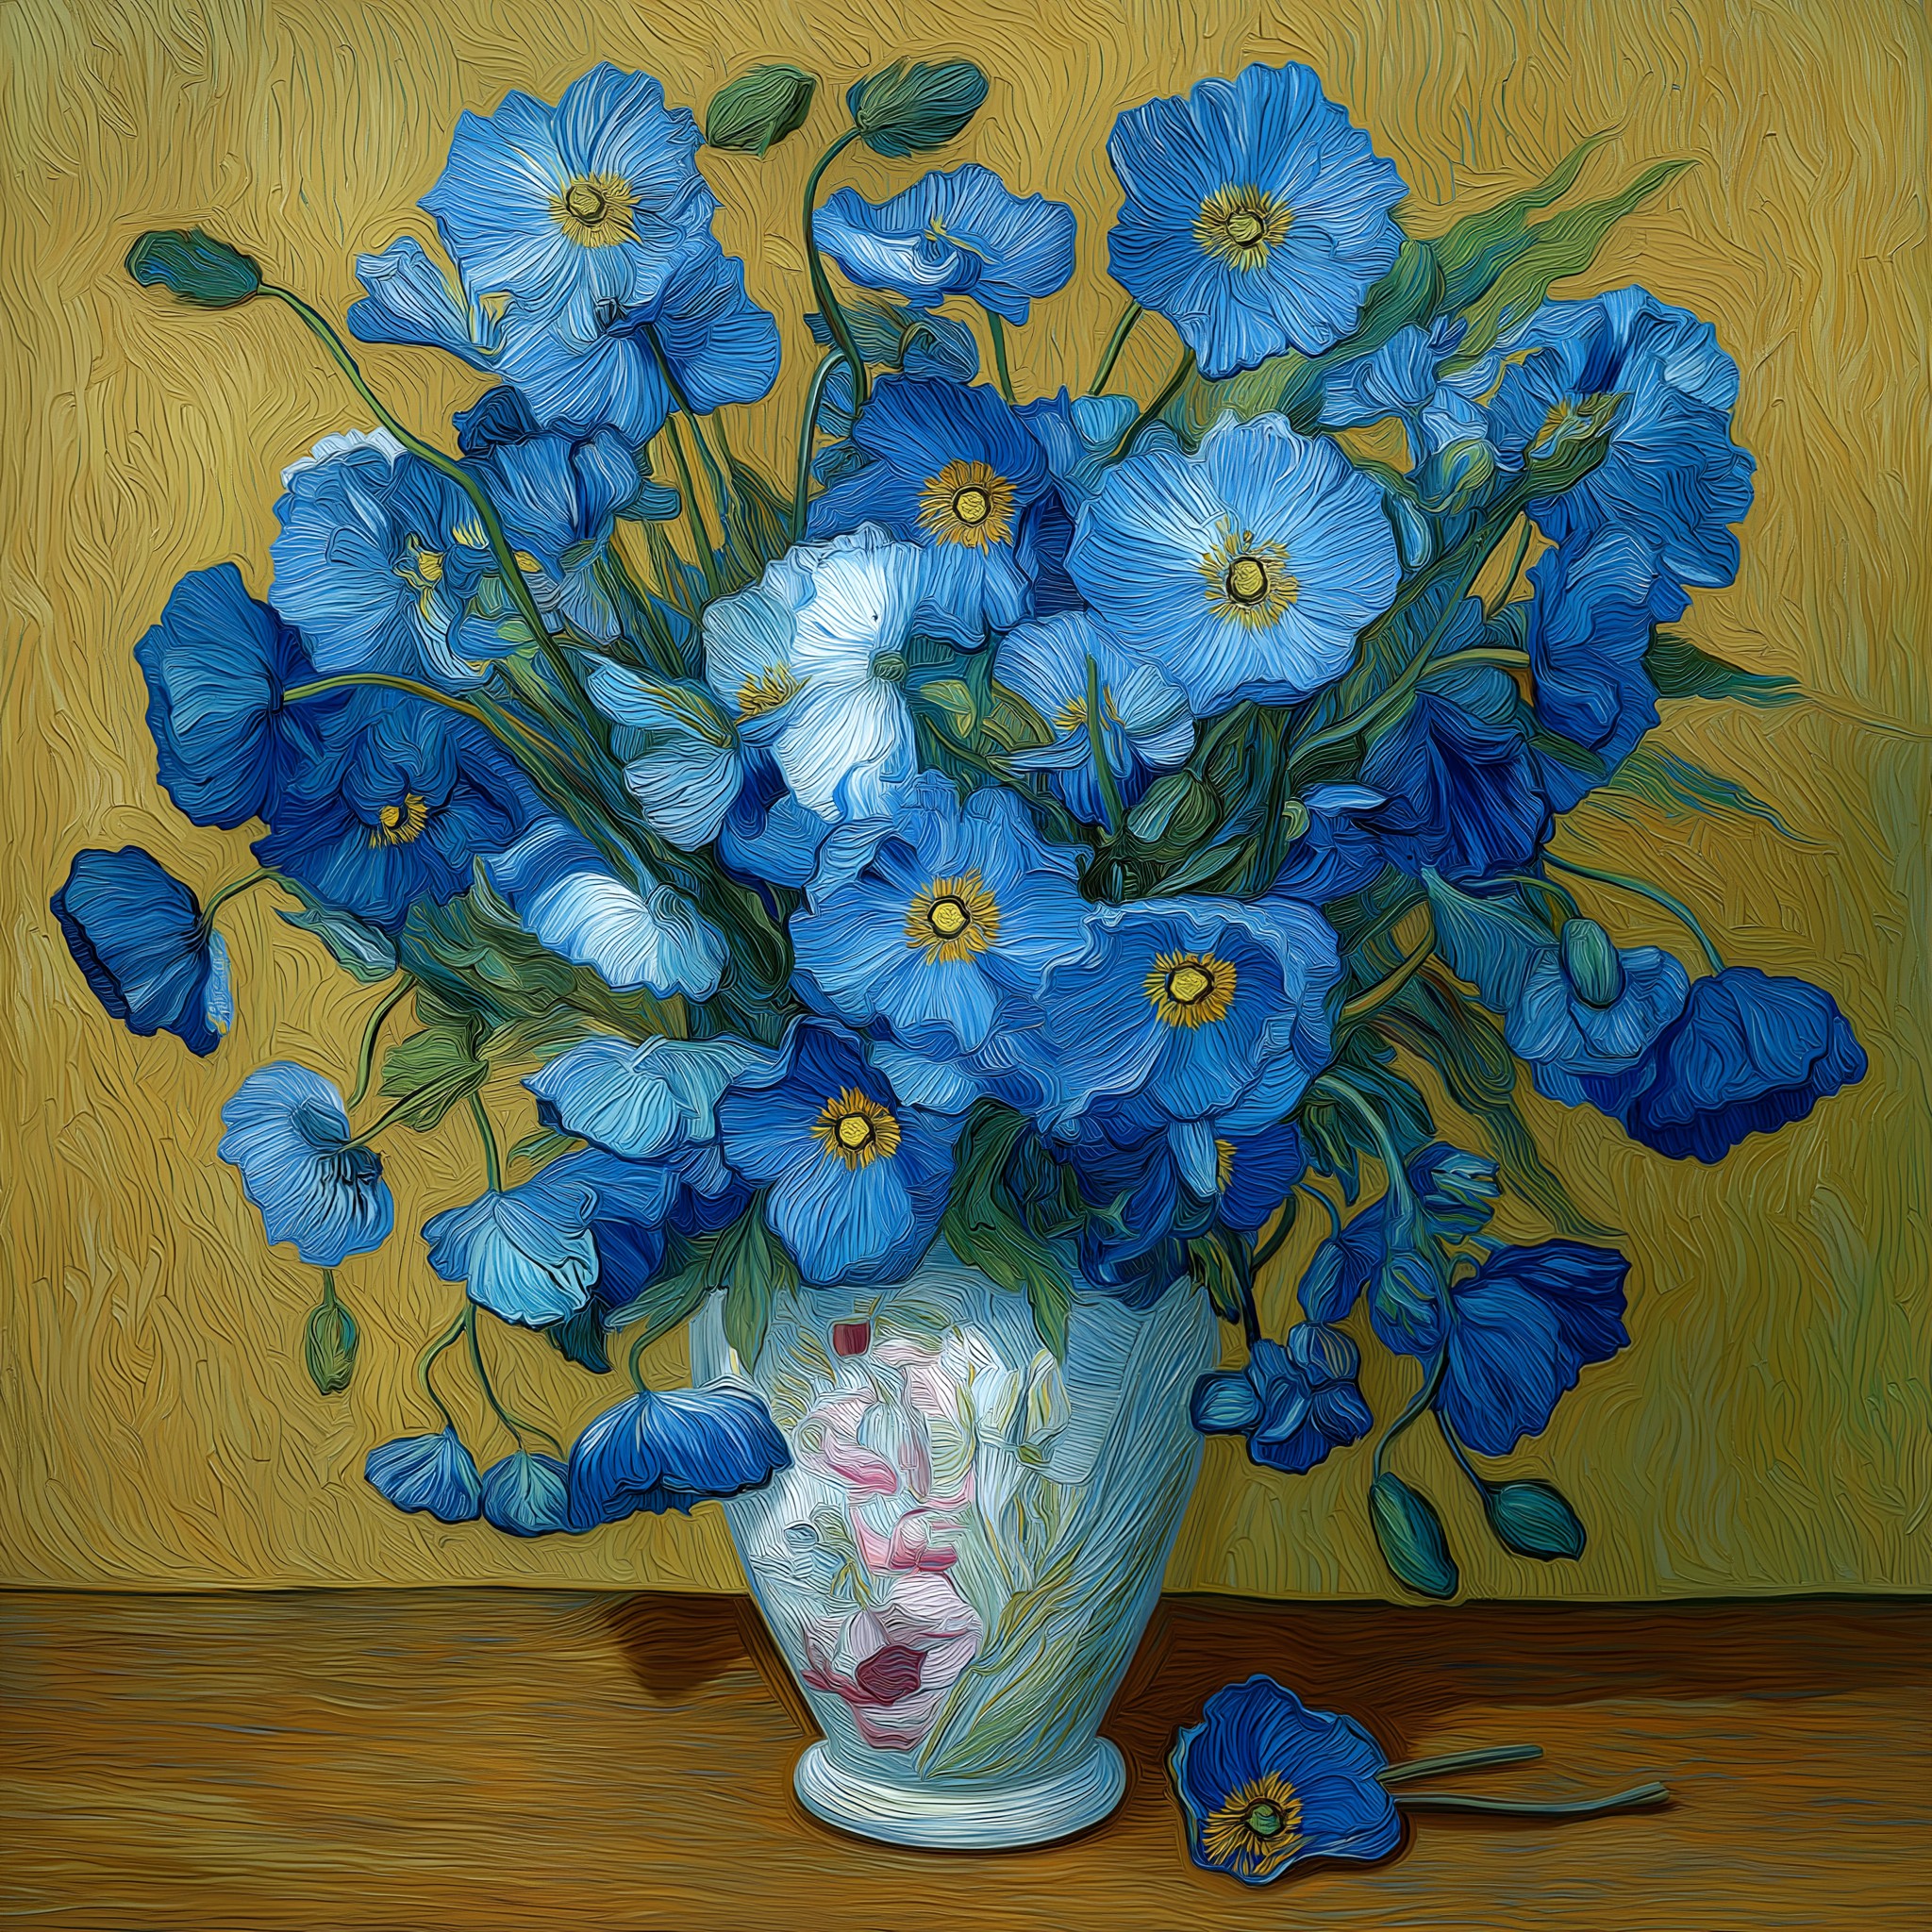
Input image
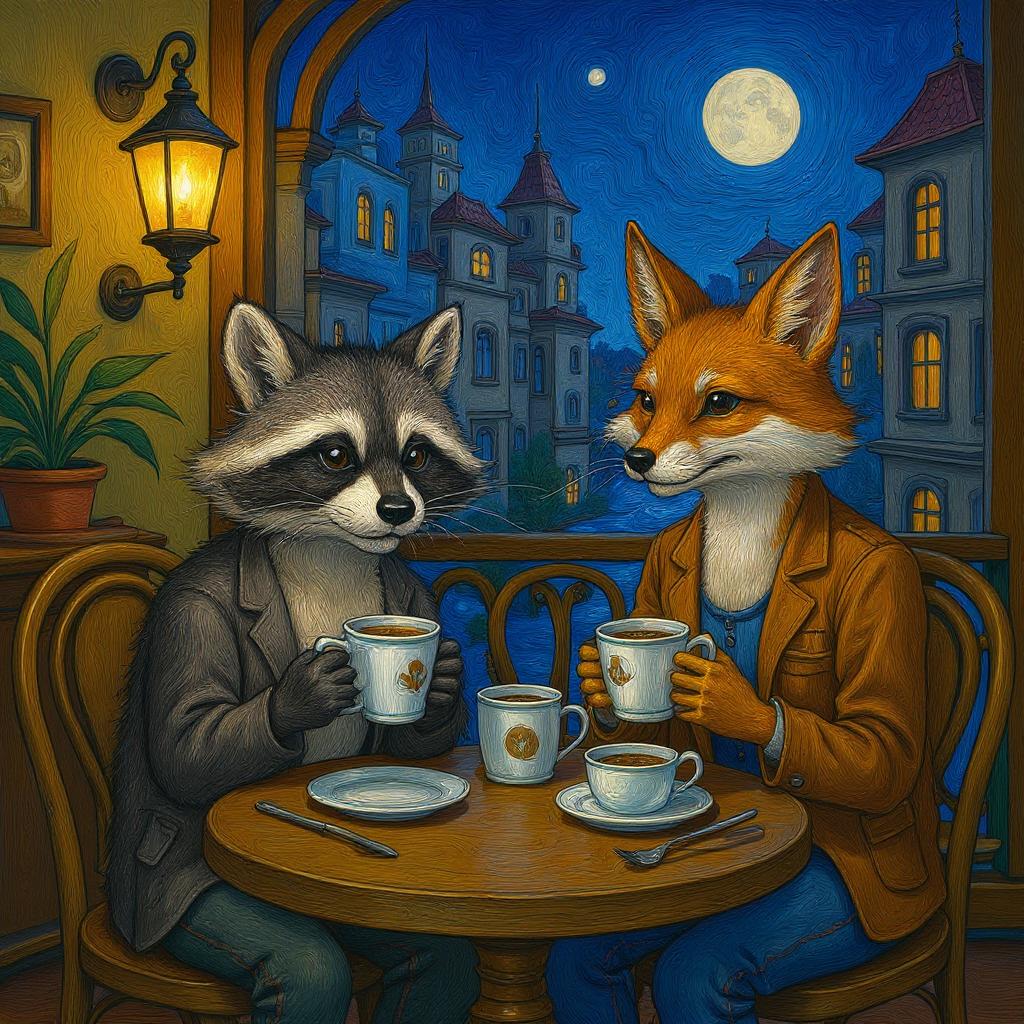
Output
"Using this style, a dog and a cat are having a tea party seated around a small white table"
Input image
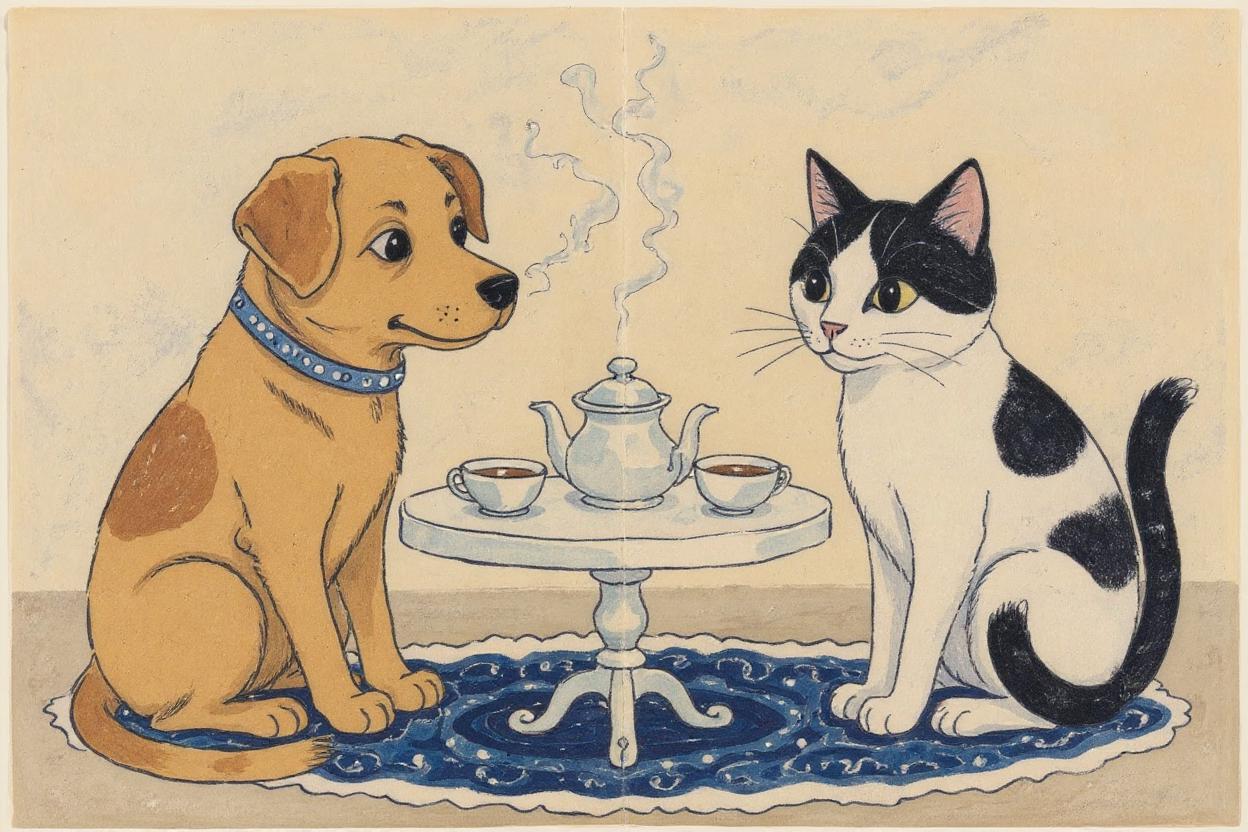
Output
5. Transform images into different styles
Shockvue lets you transform images in creative ways. On the example below, we restyle our photo into different visual styles and also doing different activities.If your goal is to dramatically change the input image, it is generally a good idea to do it step by step like the sequence below:
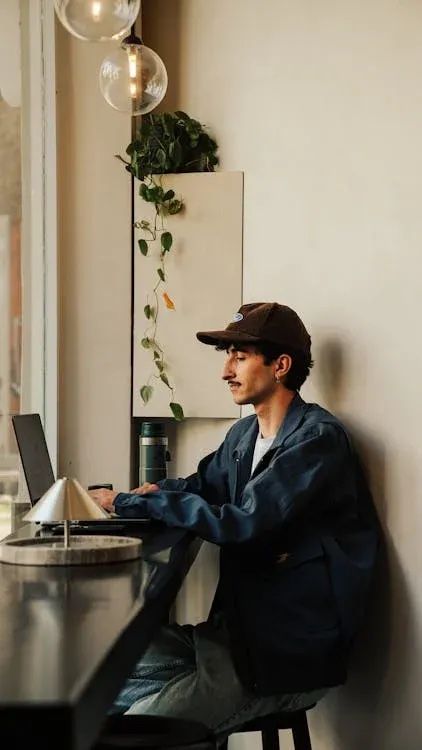
Input image
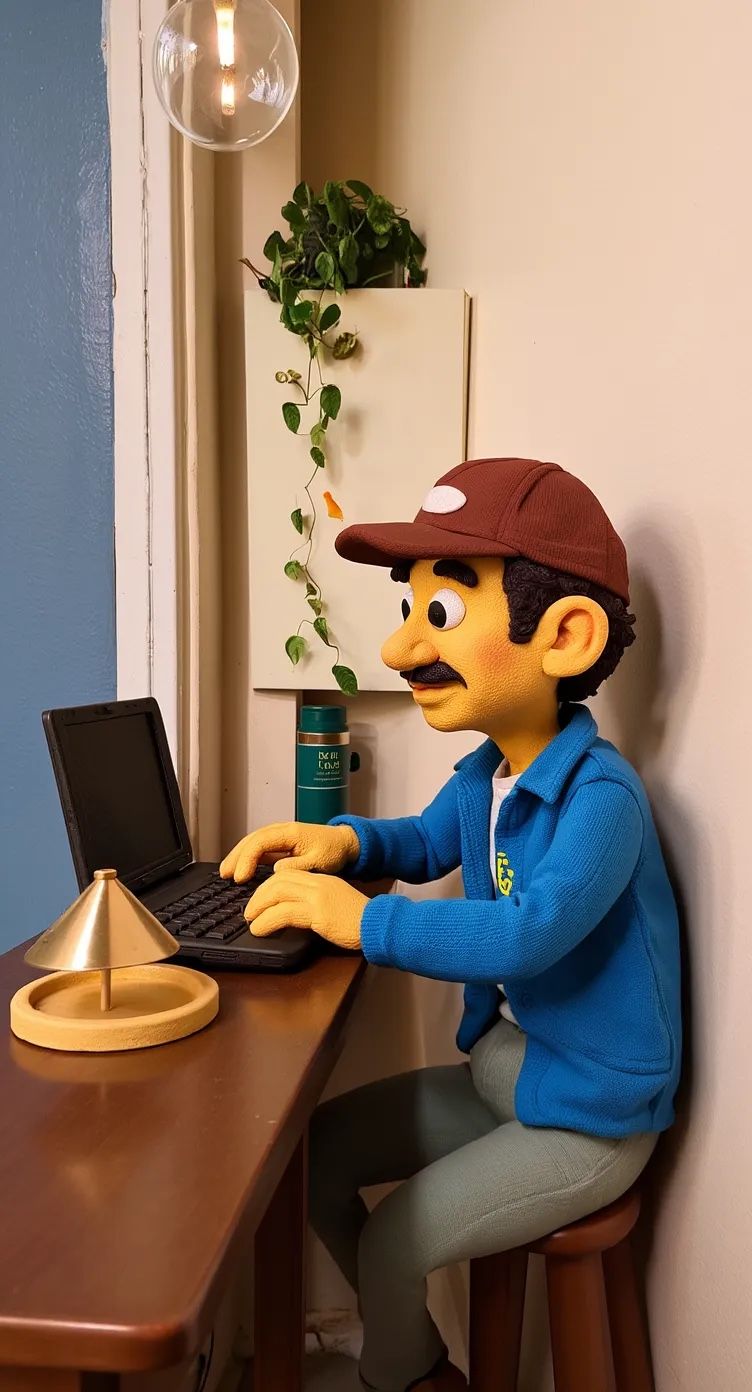
Restyled to Claymation
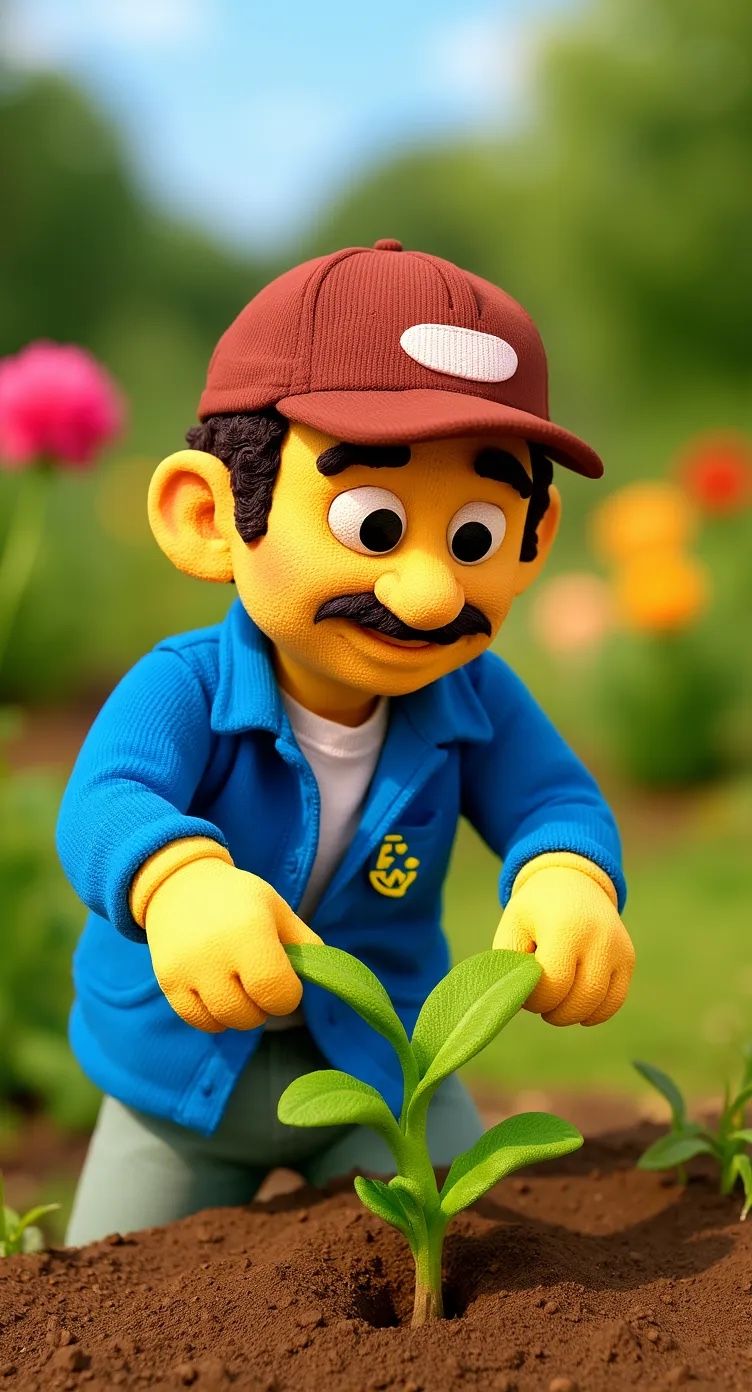
Character picking up plants
- Establish the reference: Begin by clearly identifying your character
- “This person…” or “The woman with short black hair…”
- Specify the transformation: Clearly state what aspects are changing
- Environment: “…now in a tropical beach setting”
- Activity: “…now picking up weeds in a garden”
- Style: “Transform to Claymation style while keeping the same person”
- Preserve identity markers: Explicitly mention what should remain consistent
- “…while maintaining the same facial features, hairstyle, and expression”
- “…keeping the same identity and personality”
- “…preserving their distinctive appearance”
6. Text editing in images
Shockvue can edit visible text in signs, posters, and labels using this format:
Replace 'original text' with 'new text'
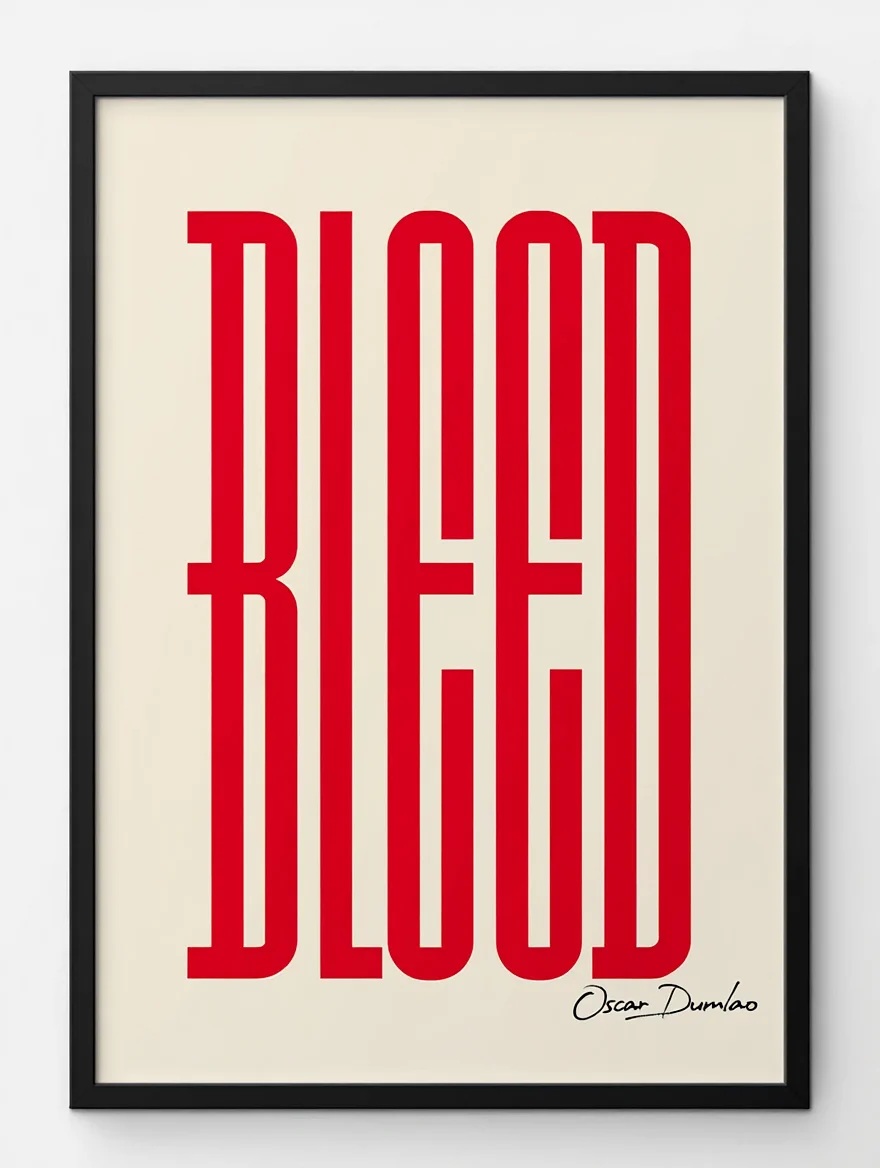
Input image
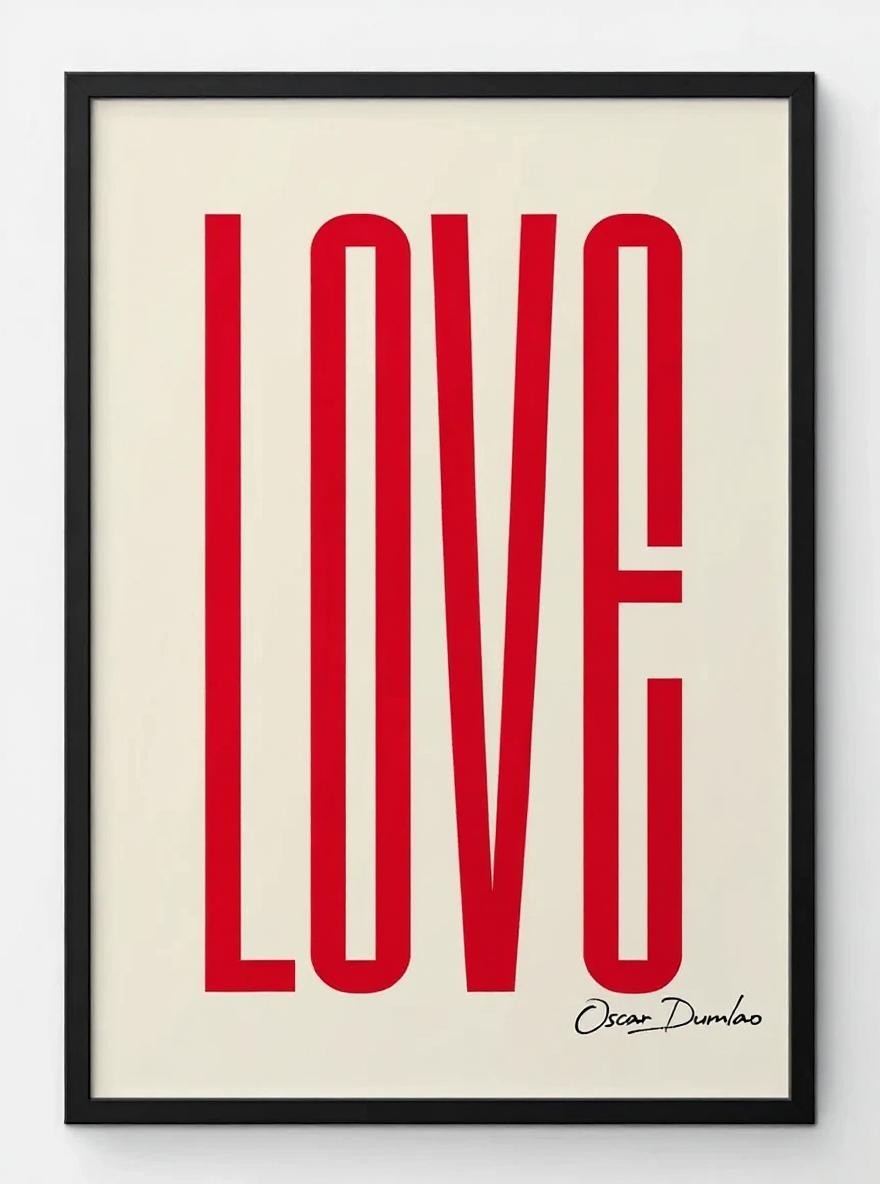
Replace red text from 'bleed' to 'love', while keeping the font style.
- Use clear, readable fonts when possible. Complex or stylized fonts may be harder to edit
- Specify preservation when needed. For example: “Replace ‘joy’ with ‘BFL’ while maintaining the same font style and color”
- Keep text length similar - Dramatically longer or shorter text may affect layout
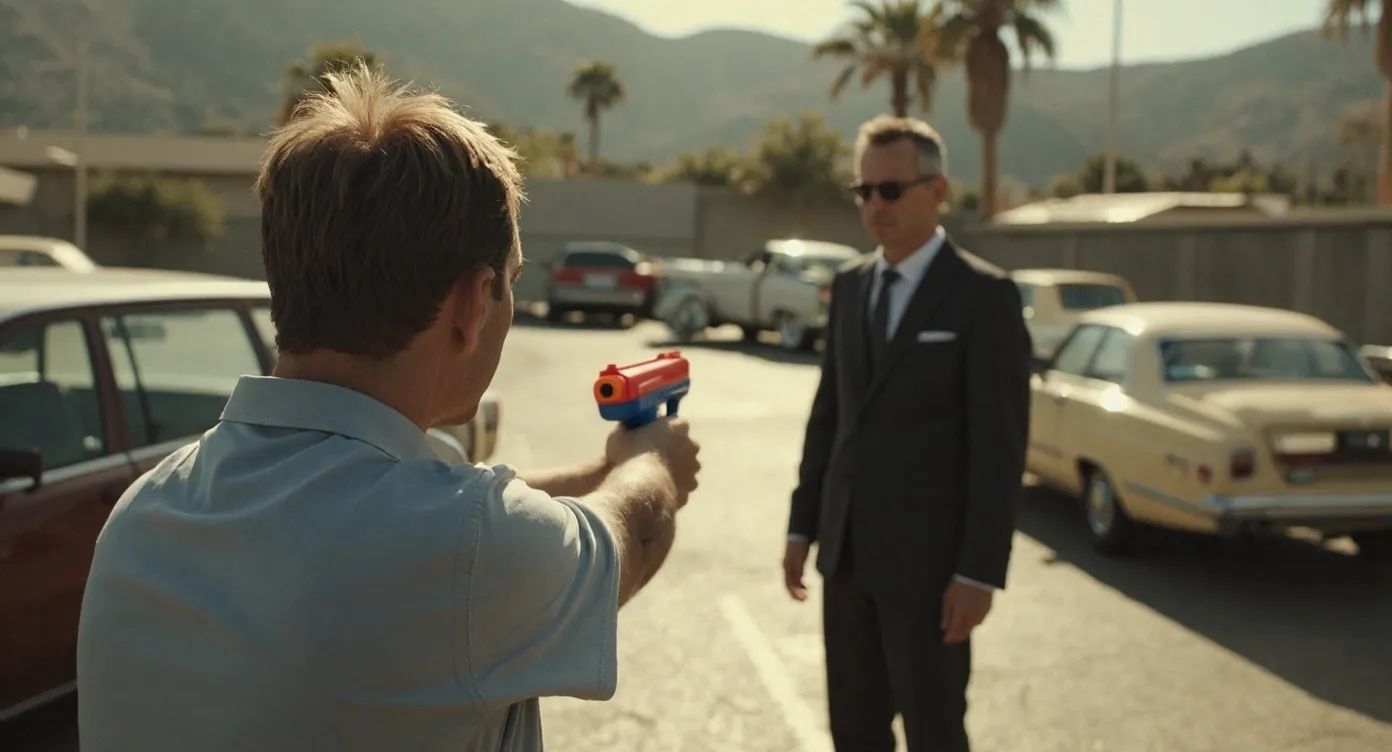
7. Zone Edit (Beta)
Zone Edit is a powerful (experimental) feature that allows you to apply your edits to specific areas of an image. By selecting one or more zones, you can tell the AI exactly where to focus the changes described in your prompt, leaving the rest of the image untouched. This gives you precise control over the editing process, enabling you to perform targeted modifications, additions, or removals with greater accuracy. It is also possible to use Visual cues to suggest to the model where to make edits. This can be particularly helpful when you want to make targeted changes to specific areas of an image. By providing visual markers or reference points, you can guide the model to focus on particular regions.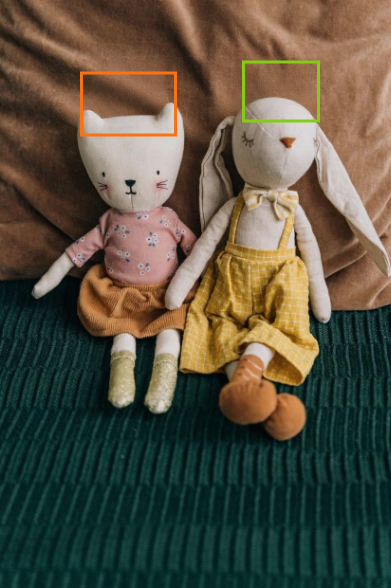
Input image
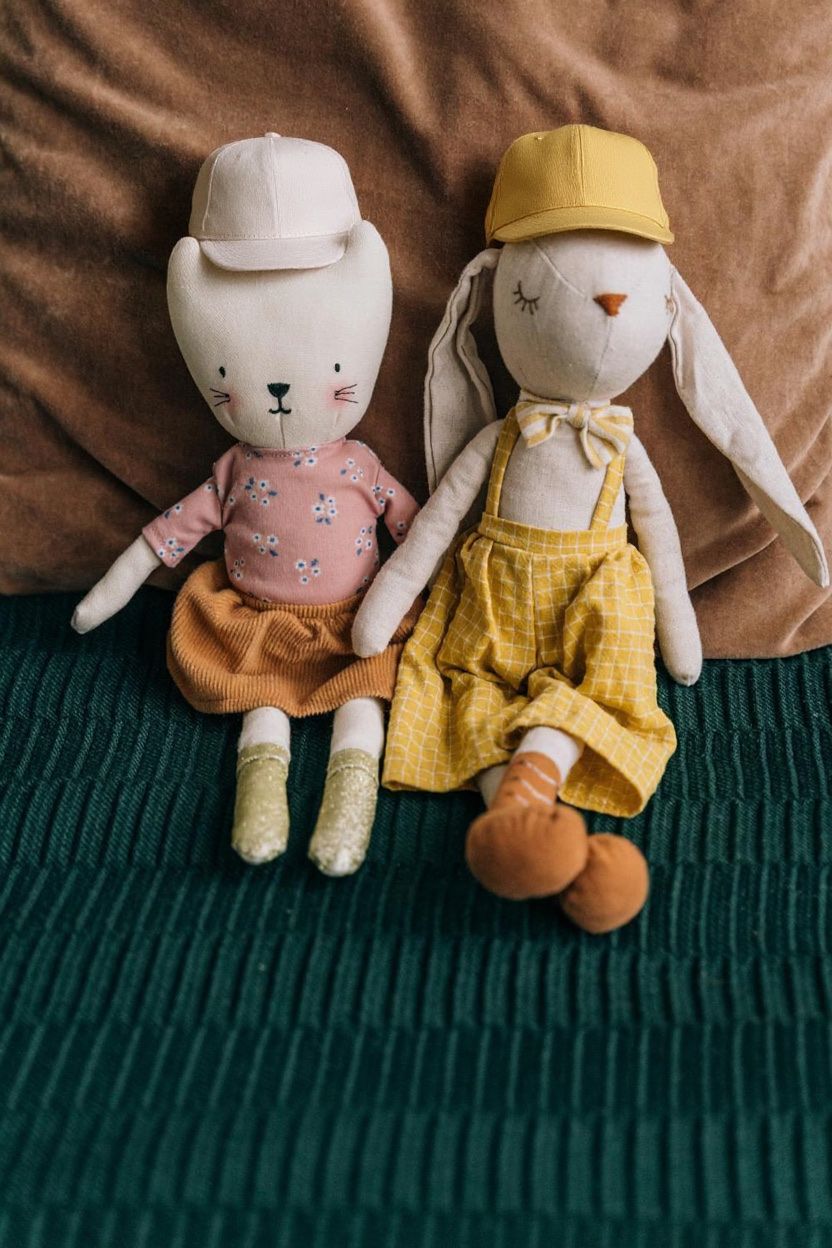
Add hats in the selected areas
- Activate Zone Edit: Click on the Zone Edit icon (a square) in the editing toolbar. This will enable pencil mode.
- Select Areas: Click and drag on the image to draw one or more rectangular zones where you want to apply your edit.
- Write Your Prompt: Describe the change you want to make within the selected areas. When making distinct changes to two sections of an image, refer to ‘in the selected area’ for the first section and ‘in the second selected area’ for the second section. Do not describe the sections as “orange area” or “lime area.”
- Apply the Edit: Click the Edit button to generate the image. The AI will apply the prompt’s instructions exclusively to the zones you defined.
8. When results don’t match expectations
General Troubleshooting Tip
If the model is changing elements you want to keep unchanged, be explicit about preservation in your prompt. For example: “everything else should stay black and white” or “maintain all other aspects of the original image.”Character identity changes too much
When transforming a person (changing their clothing, style, or context), it’s easy to lose their unique identity features if prompts aren’t specific enough.- Try to be more specific about identity markers (“maintain the exact same face, hairstyle, and distinctive features”)
- Example: “Transform the man into a viking warrior while preserving his exact facial features, eye color, and facial expression”
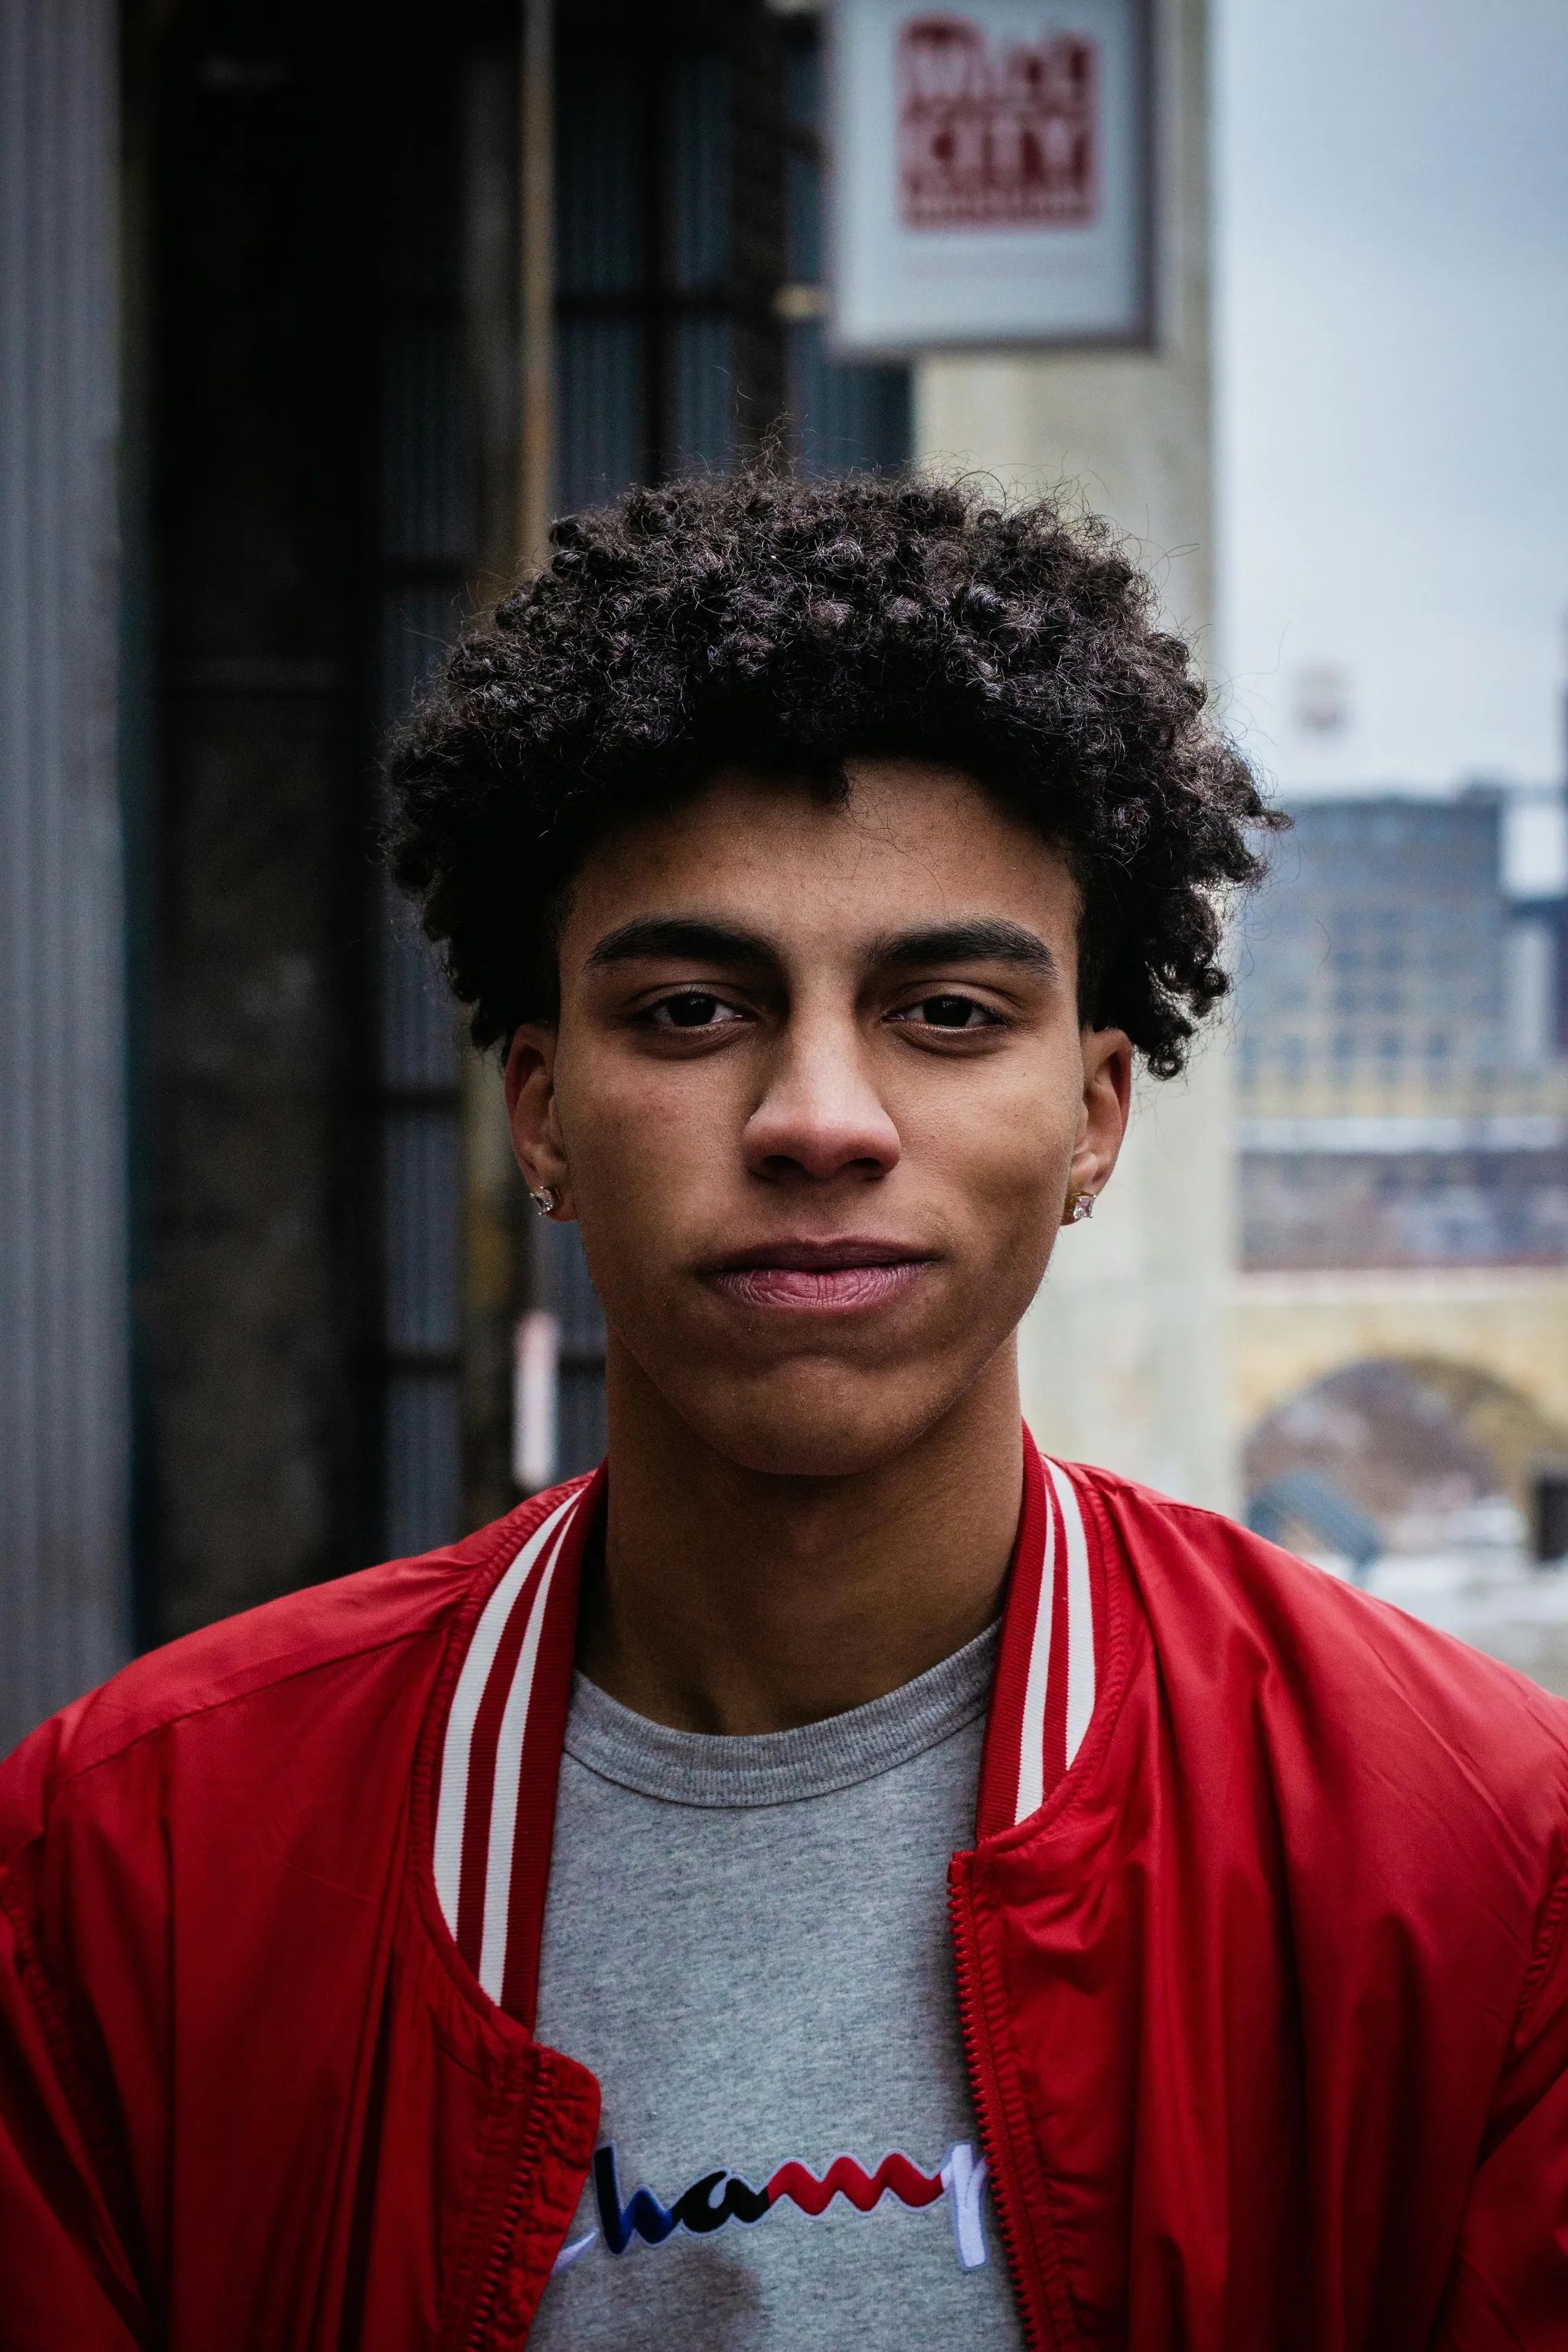
Input image
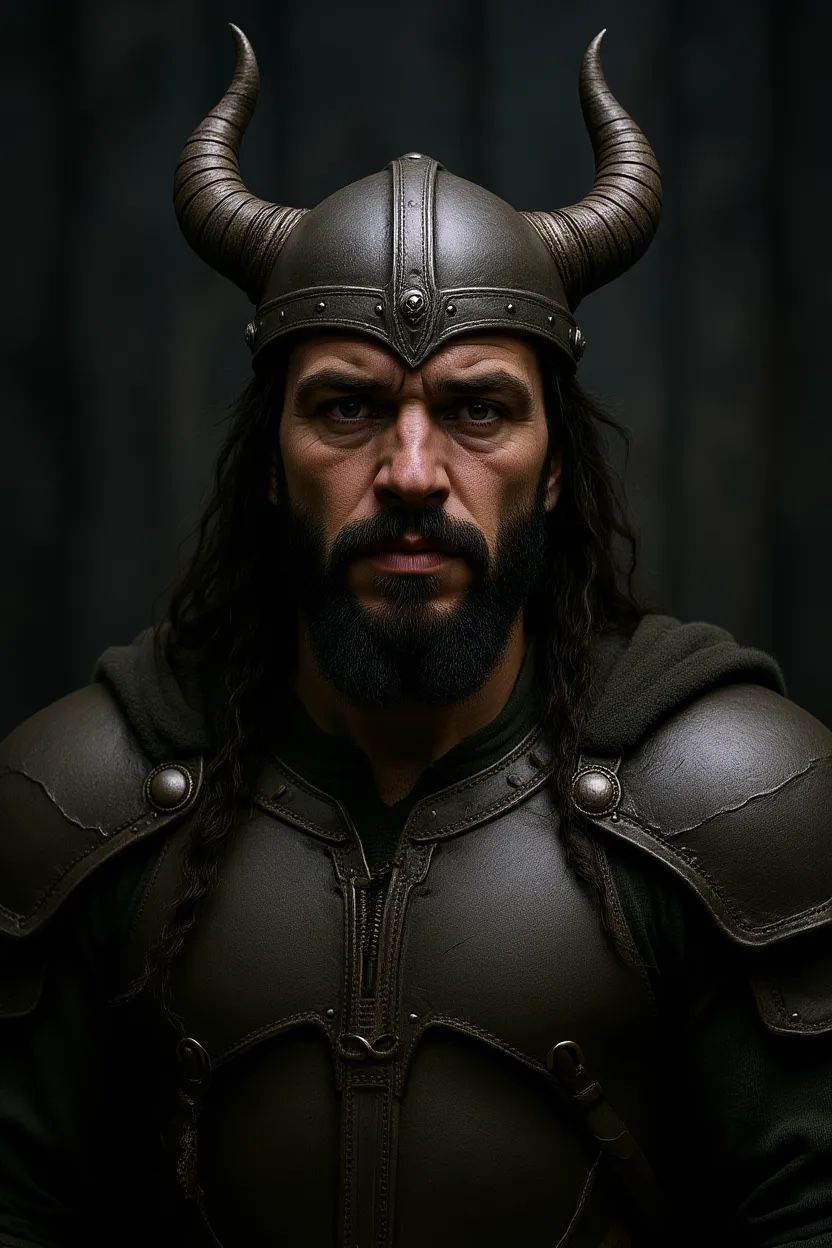
Vague prompt result
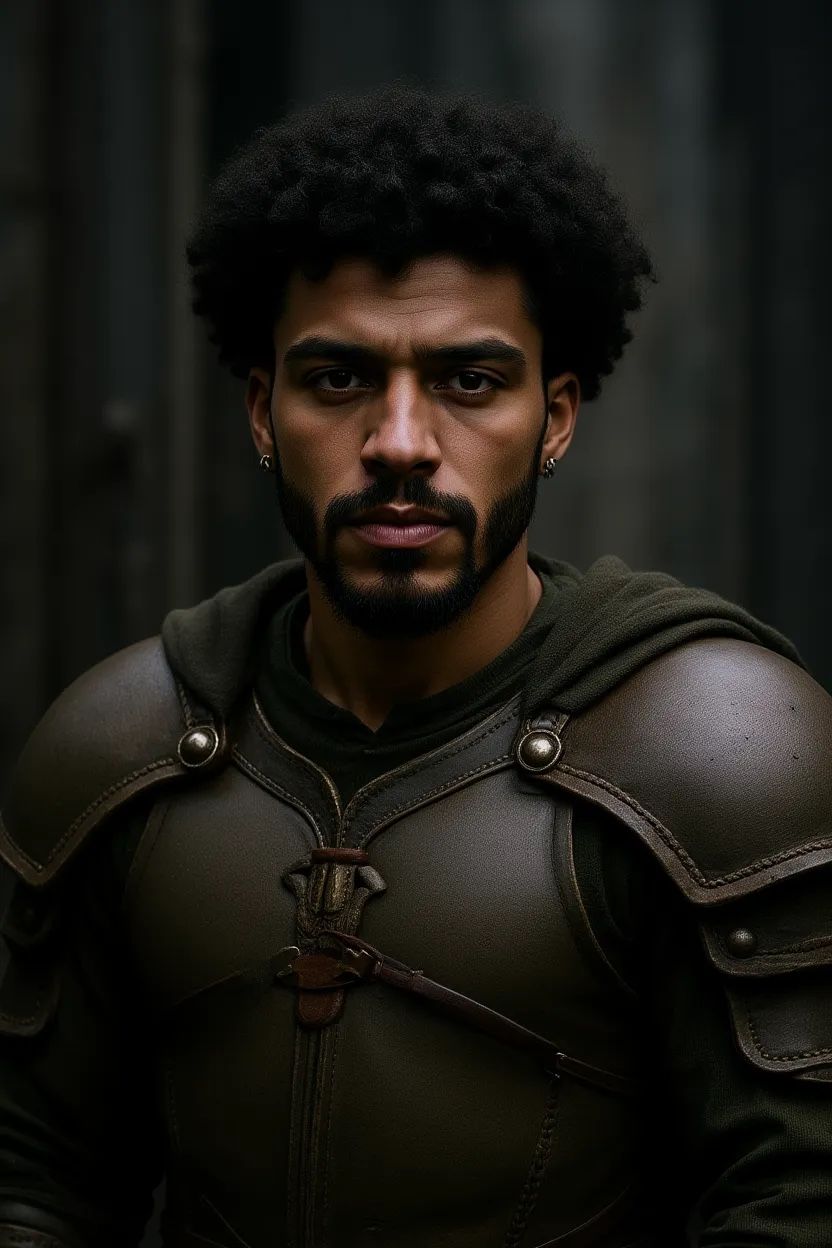
Detailed prompt result
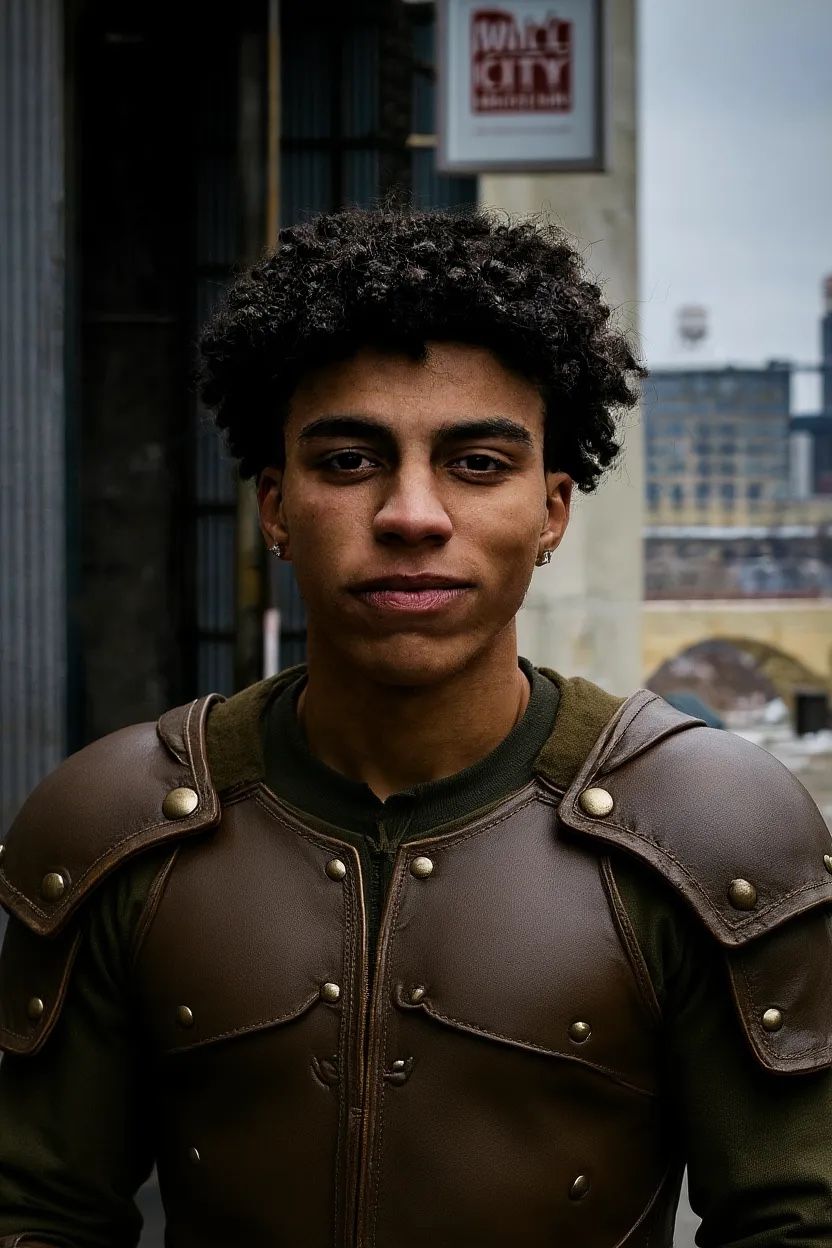
Focused prompt result
- Prompt: “Transform the person into a Viking” → Complete replacement of facial features, hair, and expression
- Prompt: “Transform the man into a viking warrior while preserving his exact facial features, eye color, and facial expression” → Maintains core identity while changing context
- Prompt: “Change the clothes to be a viking warrior” → Keeps perfect identity while only modifying the specified element
Composition Control
When editing backgrounds or scenes, you often want to keep the subject in exactly the same position, scale, and pose. Simple prompts can sometimes change some of those aspects. Simple prompts causing unwanted changes:- Prompt: “He’s now on a sunny beach” → Subject position and scale shift
- Prompt: “Put him on a beach” → Camera angle and framing change
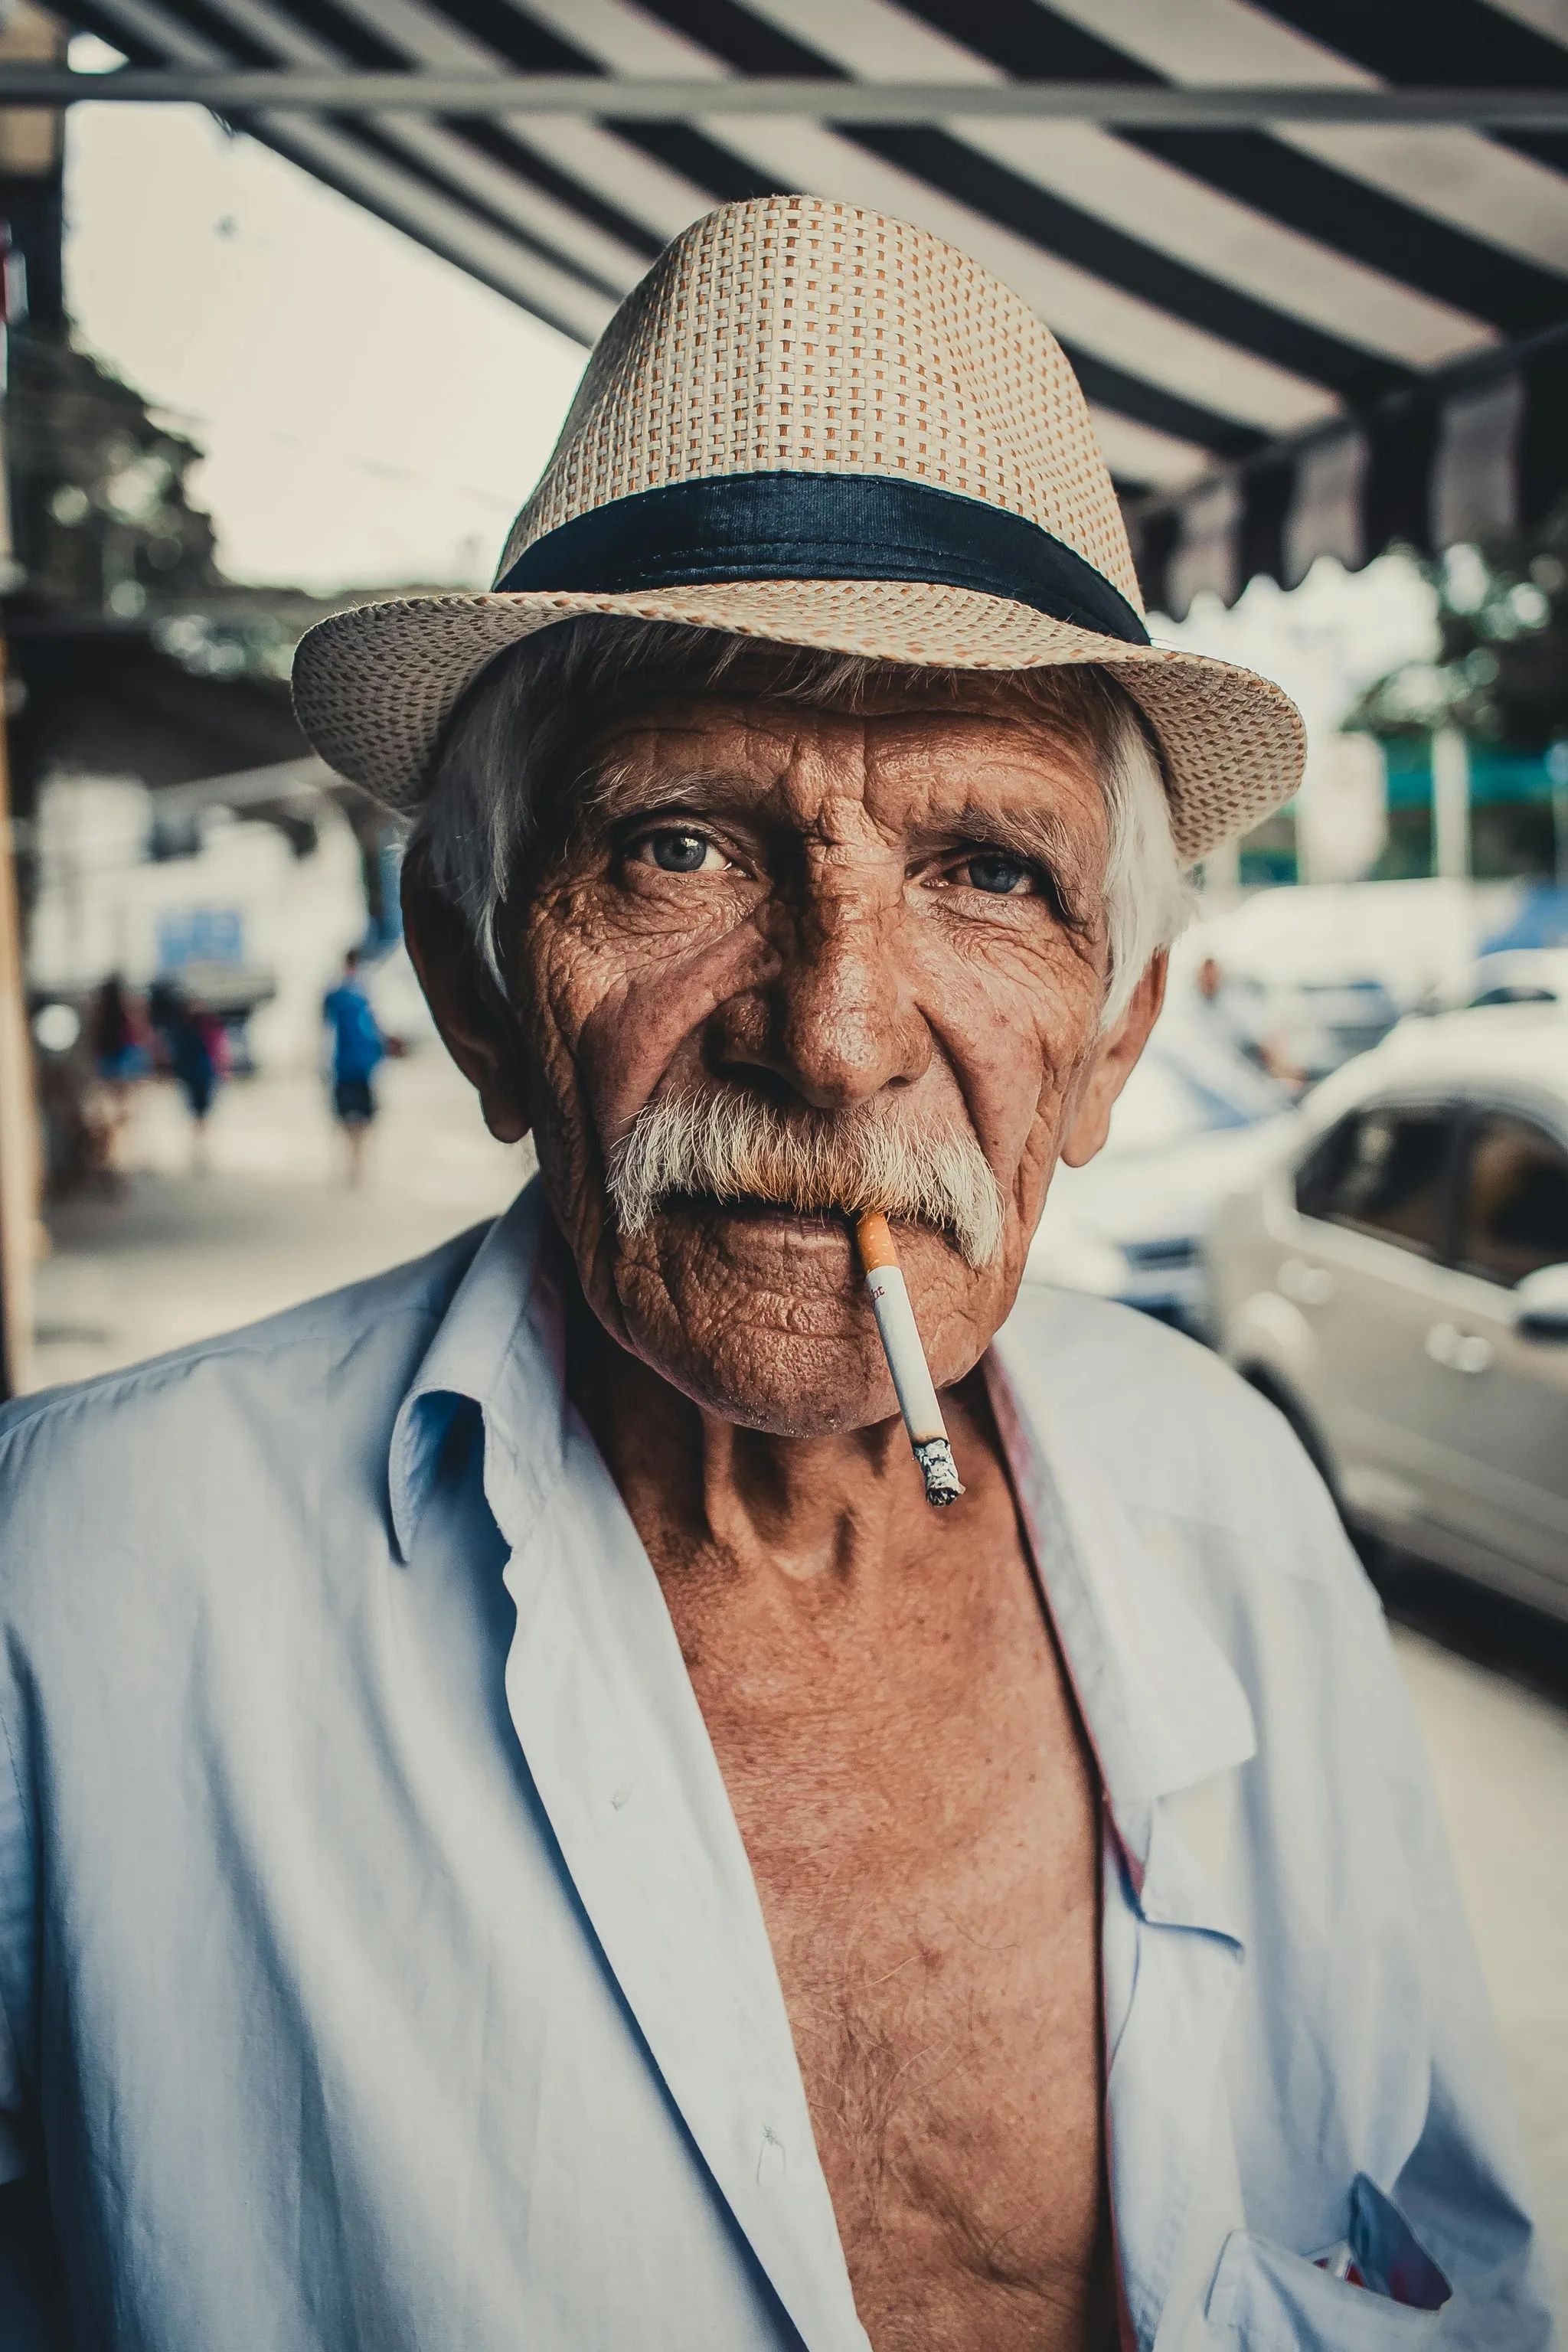
Input image
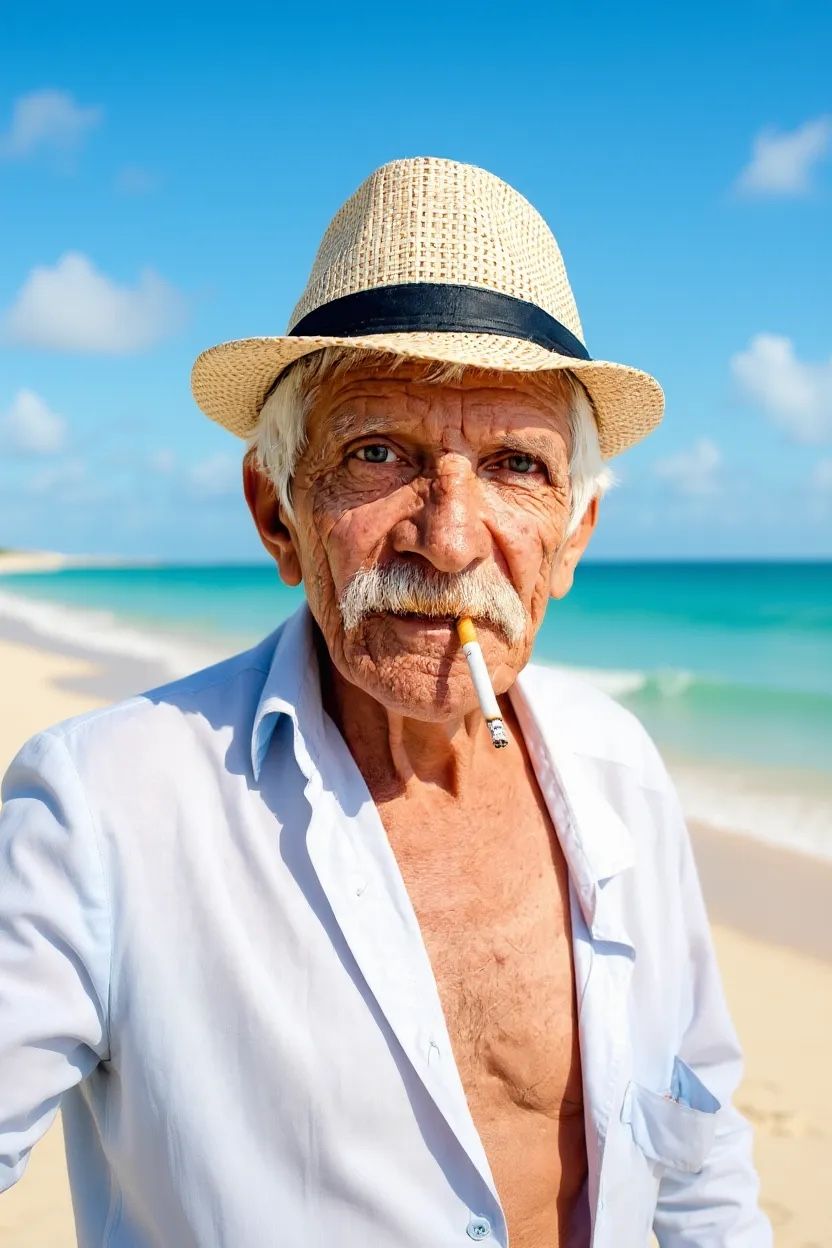
Simple beach prompt
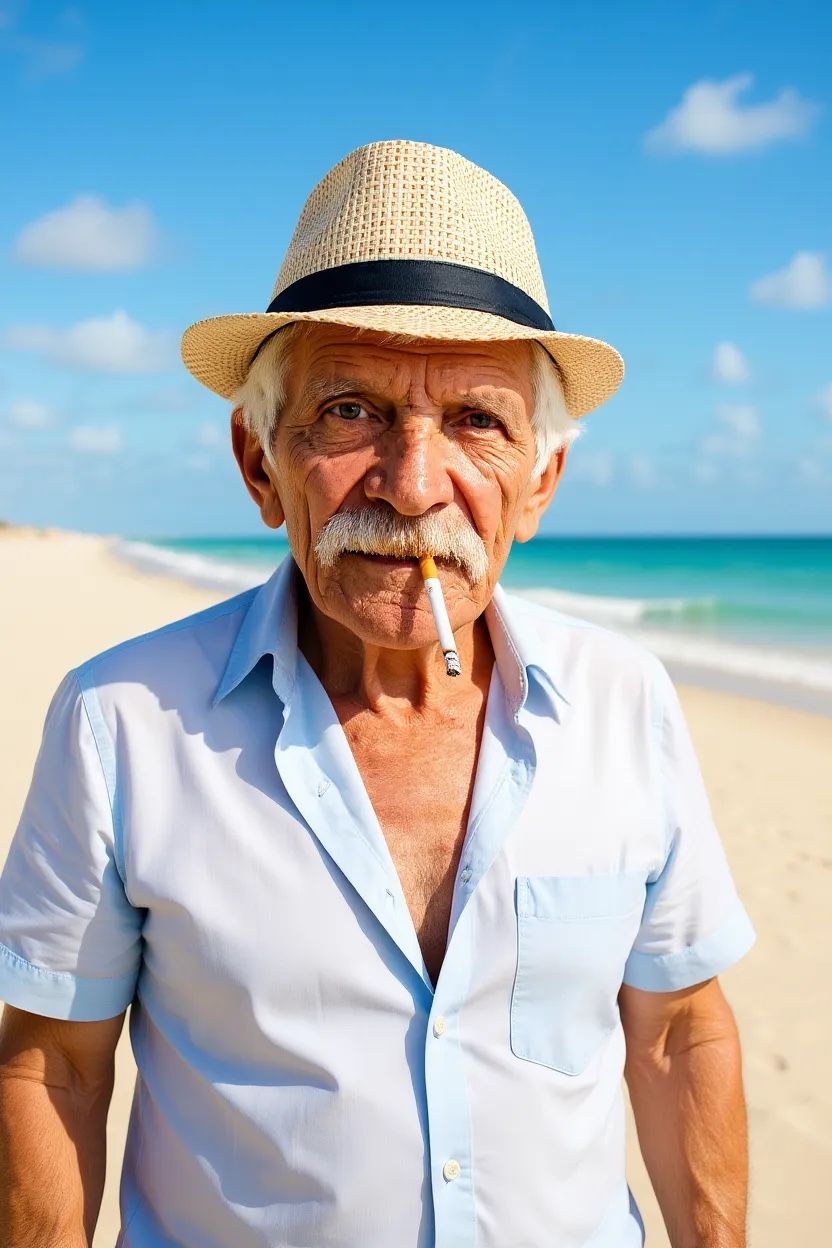
Put on beach prompt
- Prompt: “Change the background to a beach while keeping the person in the exact same position, scale, and pose. Maintain identical subject placement, camera angle, framing, and perspective. Only replace the environment around them” → Better preservation of subject
- Adjust the framing to match typical beach photos
- Change the camera angle to show more of the beach
- Reposition the subject to better fit the new setting
Style isn’t applying correctly
When applying certain styles, simple prompts might create inconsistent results or lose important elements of the original composition. We could see that in the example above. Basic style prompts can lose important elements:- Prompt: “Make it a sketch” → While the artistic style is applied, some details are lost.
- Prompt: “Convert to pencil sketch with natural graphite lines, cross-hatching, and visible paper texture” → Preserves the scene while applying the style. You can see more details in the background; more cars are also appearing on the image.
Input image
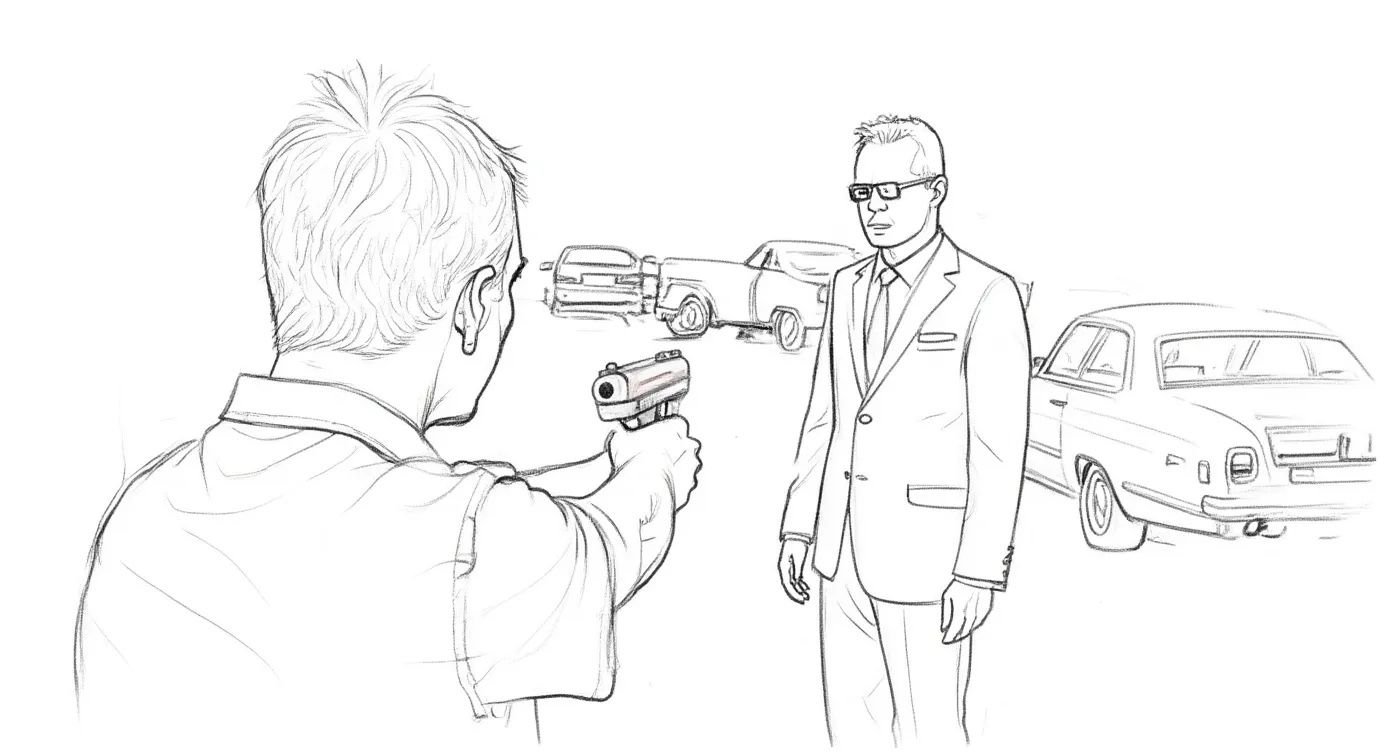
Basic sketch prompt
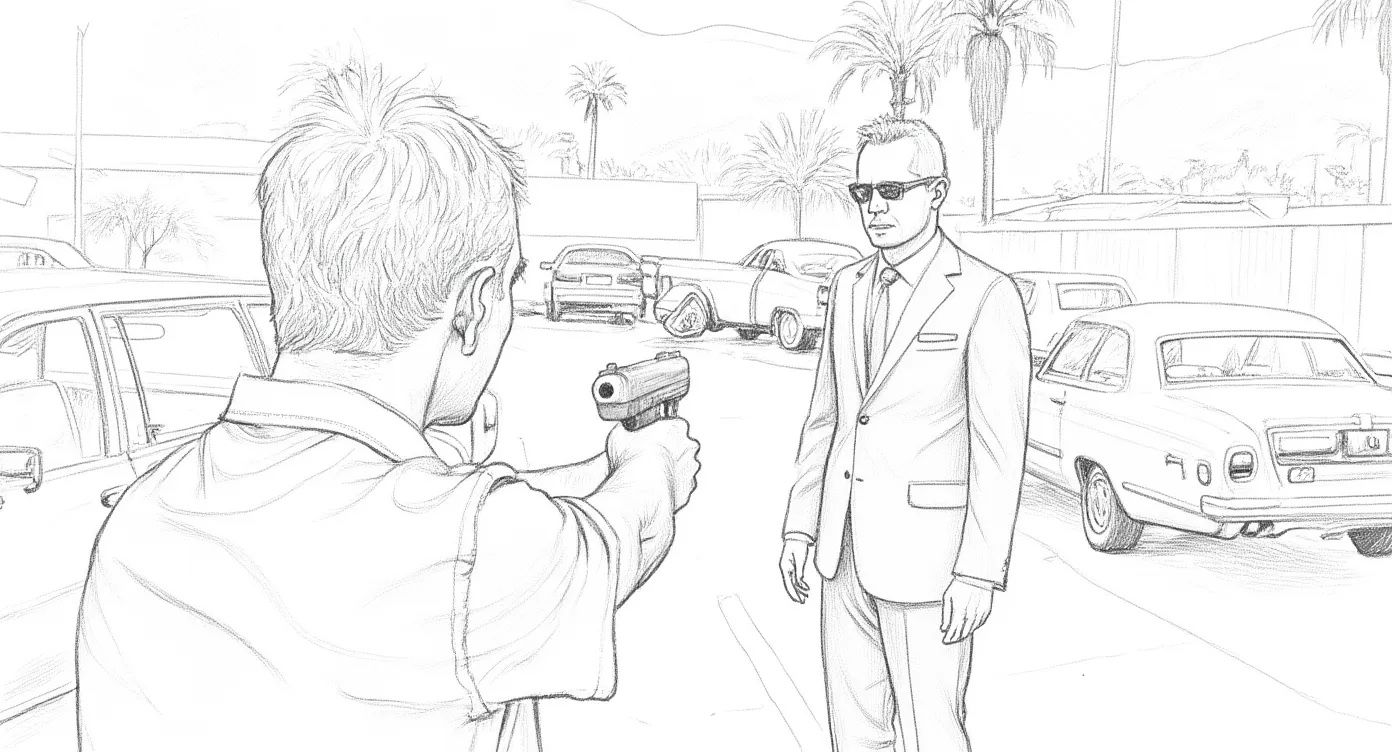
Precise sketch prompt